




Uncategorized
Radio Earpiece Cutting Out Fix: Professional Troubleshooting Guide 2026
Aug
That “broken” earpiece in your kit bag probably isn’t ready for the bin. Most communication failures are not caused by permanent hardware damage, but by simple maintenance issues like moisture build-up or connector tension. If you’re searching for a reliable radio earpiece cutting out fix, you’re likely dealing with the frustration of muffled instructions or crackling audio during a high-stakes security shift.
We understand that losing contact during a critical incident isn’t just an annoyance; it’s a safety risk. You need equipment that works as hard as you do, without the constant worry of intermittent signals when you move or audio that fails the moment you’re under pressure. This guide will teach you how to diagnose and rectify audio failures in the field, from clearing stubborn acoustic tube blockages to fixing loose connector pins. We’ll provide a clear path to restoring audio quality, whilst helping you identify the exact moment a professional replacement is necessary to keep your team’s communications secure and reliable.
Key Takeaways
- Master the “Isolation Test” to instantly determine whether your audio failure stems from the radio handset or the earpiece itself.
- Learn how to clear condensation “bubbles” and earwax blockages that act as physical barriers to clear sound within acoustic tubes.
- Identify a reliable radio earpiece cutting out fix by inspecting connector pins for oxidation and ensuring proper alignment with the radio port.
- Distinguish between intermittent PTT button signals and a permanently blown transducer to know exactly when a replacement is required.
- Evaluate the maintenance benefits of switching to G-shape or D-shape earpieces if you work in high-moisture environments.
Preliminary Diagnostics: Identifying the Source of the Audio Failure
Before you commit to a replacement, you must determine if the fault lies with the accessory or the handset itself. Many users assume a radio earpiece cutting out fix requires a new purchase, but the issue often stems from the radio’s power supply or port cleanliness. Low battery voltage is a frequent culprit; when a battery drops below a certain threshold, the radio struggles to maintain a consistent signal to the peripheral, causing audio to “clip” or drop out entirely during reception. Understanding the basics of two-way radio technology helps in realising that earpieces are passive components that rely heavily on the radio’s output stability.
The Professional Isolation Test
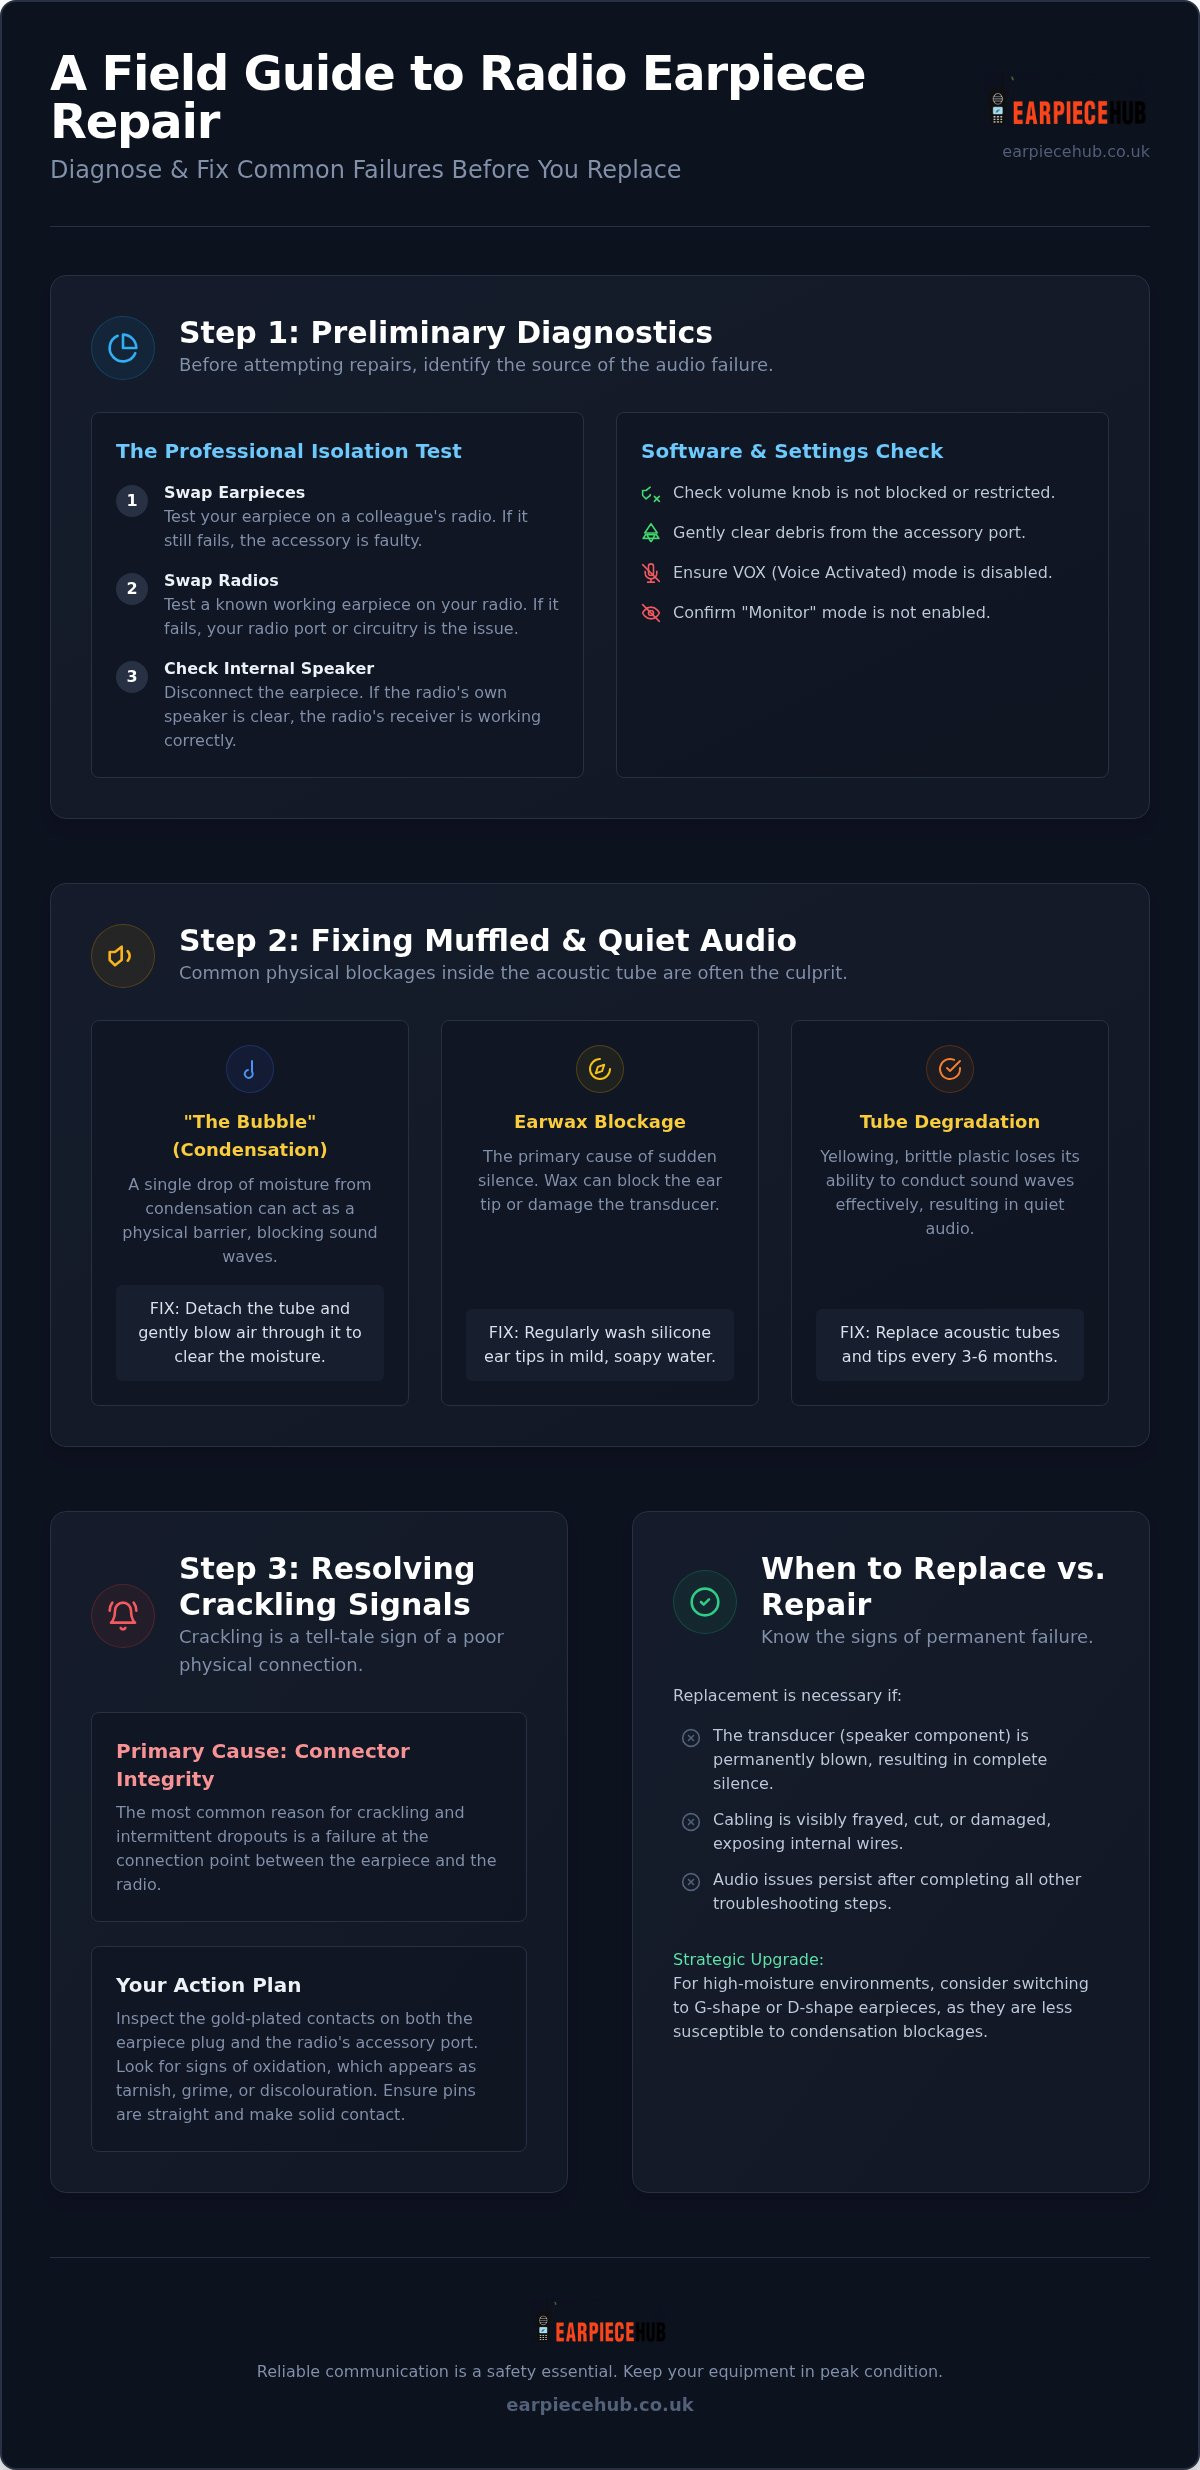
The fastest way to pinpoint a hardware failure is to swap earpieces amongst your team. If your earpiece fails on a colleague’s radio, the accessory is likely at fault. Conversely, if a known working earpiece also cuts out on your handset, the problem is your radio’s accessory port or internal circuitry. Always test the radio’s internal speaker whilst the earpiece is disconnected. If the internal audio is clear, the radio’s receiver is fine, and you can focus your troubleshooting on the connection point rather than the radio’s internal motherboard.
Software and Settings Check
Check your physical controls first. It’s common for a radio holster to restrict the volume knob or for pocket lint to prevent the connector from seating properly in the port. Use a non-conductive tool to gently clear any debris from the accessory jack. Additionally, verify that VOX (Voice Activated) mode isn’t active. VOX can trigger accidentally in noisy environments, cutting off incoming audio because the radio thinks you’re trying to transmit. Finally, ensure “Monitor” mode isn’t enabled, as this opens the squelch and creates constant static that masks legitimate communication. Performing a logical radio earpiece cutting out fix starts with these simple, no-cost checks to ensure your settings haven’t been knocked during a busy shift.
Clearing the Path: Fixing Muffled Audio and Acoustic Tube Blockages
Sudden volume loss or muffled reception is rarely a software glitch. It’s often “The Bubble”. This phenomenon occurs when body heat meets cold air, creating condensation inside the clear plastic tube. This tiny droplet acts as a physical sound barrier, reflecting audio back towards the radio. To find a radio earpiece cutting out fix, you must inspect the entire length of the tube for these micro-obstructions. For broader context on signal paths, this Audio troubleshooting guide provides a systematic approach to identifying exactly where sound waves are being interrupted in electronic peripherals.
Check the mushroom ear tip. Earwax is the primary cause of sudden silence in professional earpieces used by security teams. If the wax reaches the transducer, which is the small speaker at the base of the tube, it can cause permanent moisture damage or a “blown” coil. Monitor the plastic’s appearance regularly. If the tube is yellowing or feels brittle, it’s no longer vibrating correctly to carry sound waves, meaning your audio will remain quiet regardless of your radio settings.
Removing Moisture in the Field
You can often resolve “The Bubble” whilst on shift without any special tools. Detach the tube from the transducer and blow air through it to clear the blockage. Never use hair dryers or intense heat to speed up this process. High temperatures warp the sensitive plastic, making it useless for sound conduction. If moisture persists throughout your shift, you may need to swap in fresh replacement acoustic tubes and ear tips to maintain operational clarity and safety.
Ear Tip Hygiene and Clarity
Regular maintenance prevents total communication failure. Wash silicone ear tips in mild, soapy water to remove oils and debris that accumulate during long shifts. If the silicone has hardened or lost its shape, it won’t seal in the ear canal properly, leading to poor audio quality. Recognising when a part is beyond cleaning is a vital part of a radio earpiece cutting out fix. Professionals should replace these components every 3 to 6 months to ensure both hygiene and peak performance in high-noise environments.
Connector Integrity: Resolving Crackling and Intermittent Signals
Crackling audio is a tell-tale sign of a physical connection failure. Before assuming you need a hardware overhaul, inspect the gold-plated contacts on both your radio and the earpiece jack. Oxidation or a thin layer of grime can easily disrupt the low-voltage signal, leading to the dreaded “cutting out” effect when you move. Use a dry, lint-free cloth to buff these contacts until they shine. If you’re looking for a radio earpiece cutting out fix, cleaning the connection is the most effective first step. Avoid the common mistake of bending pins to force a tighter fit; this often causes permanent damage to the radio’s accessory port, which is a far more expensive repair than replacing an earpiece.
2-Pin vs Multi-Pin Maintenance
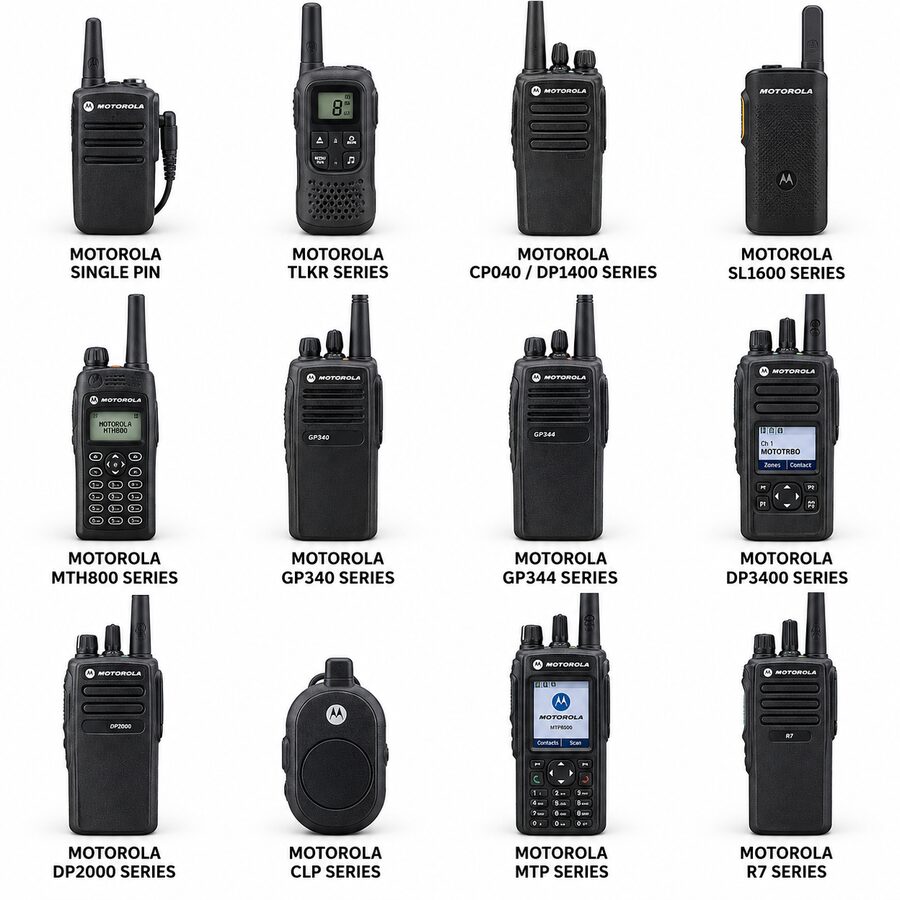
Different connector types require specific care. For Motorola DP1400 2-pin connectors, ensure the jack is fully seated and not being pushed out by the radio’s protective casing. These pins are prone to slight misalignments that cause intermittent signals. Multi-pin radios, such as the Motorola DP4400, rely on a side-connector screw. If this screw is even slightly loose, the pins won’t maintain consistent pressure against the radio’s contact pad. Tighten the connector firmly, but don’t over-torque it, as this can strip the threads on the radio body.
Cable Management to Prevent Fractures
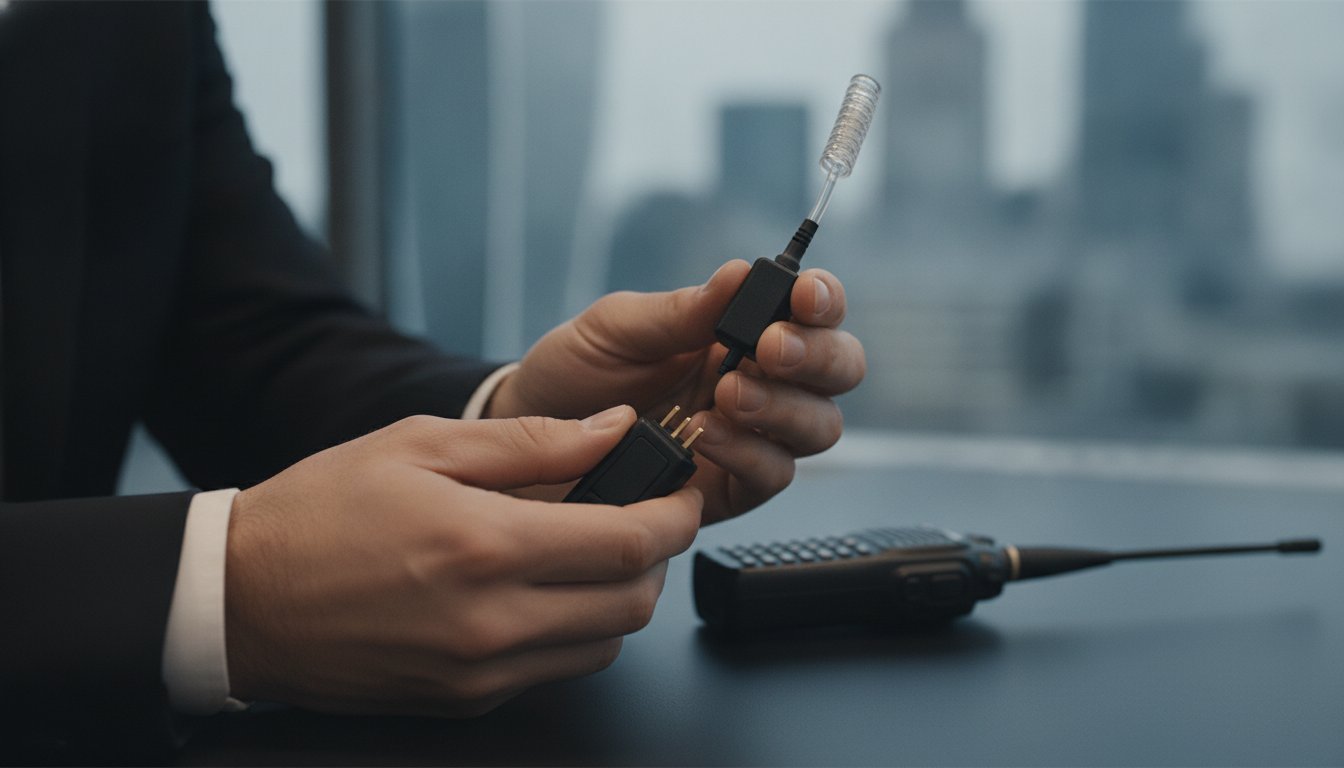
Internal wiring often fails at “stress points” where the cable meets the jack plug or the PTT unit. These stress fractures are usually caused by snagging or excessive tension. You can prevent this by properly organising your cables under your uniform. Always utilise the coiled section of the earpiece; it’s designed to act as a shock absorber, providing essential strain relief whilst you’re active on shift. If your audio only cuts out when you turn your head or reach for your belt, a fracture is the likely culprit. If cleaning the contacts and securing the pins doesn’t restore your comms, it’s time to shop for a professional Acoustic Tube Earpiece for Motorola Radios to ensure you stay connected during critical incidents.
When to Replace: Strategic Upgrades for Professional Users
Not every audio issue can be resolved with a cleaning cloth or a puff of air. If your reception remains permanently distorted, quiet, or produces a constant buzzing, you’re likely dealing with a blown transducer. Once the internal speaker coil fails, a radio earpiece cutting out fix is no longer viable. Continuing to use faulty gear in high-stakes environments risks missed instructions and compromised safety. Knowing when to retire a piece of kit is just as vital as knowing how to maintain it.
Consider your specific operational environment. Whilst acoustic tubes offer a professional, covert appearance, they are high-maintenance in humid or dusty conditions. If you find yourself clearing condensation daily, a G-Shape Earpiece for Kenwood Radios or a D-shape model for Hytera may be a more robust alternative. These designs sit outside the ear canal, making them far more resilient to moisture and wax buildup. For extreme environments like music festivals or high-decibel nightclubs, upgrading to a noise-cancelling overhead headset provides the clarity that standard earpieces simply cannot match.
Matching the Connector to Your Handset
Compatibility is the foundation of reliable comms. A Motorola DP1400 requires specific 2-pin spacing, whilst a DP4400 requires a multi-pin side connector. Never force a connection. If your team operates a mixed fleet, using a universal earpiece adapter can allow your preferred kit to work across different radio brands. You should also select the correct wire configuration for your role. 1-wire kits are efficient for general duties, but 3-wire kits are essential for covert operations where the microphone and PTT units must be hidden separately.
The Long-Term Value of Quality Accessories
Cheap peripherals are often a false economy for security professionals. Professional-grade hardware utilises reinforced cabling and superior transducers to reduce the frequency of signal drop-outs. High-quality accessories are built for the rigours of 12-hour shifts and constant movement. When your current gear fails the isolation test repeatedly despite your best maintenance efforts, it’s time to invest in a reliable replacement. Shop the professional earpiece range at Earpiece Hub to ensure your communications remain crystal clear and your team stays connected.
Maintain Peak Operational Readiness
Reliable communication is the backbone of any professional security operation. By mastering a logical radio earpiece cutting out fix, such as clearing moisture bubbles or securing multi-pin connectors, you ensure your team remains safe and responsive. Most audio issues are manageable maintenance tasks that don’t require a full kit overhaul, provided you catch the signs of wear early and act before the signal fails completely during a high-stakes incident.
If your troubleshooting reveals a blown transducer or brittle wiring, don’t compromise your safety with intermittent gear. Earpiece Hub is a UK-based specialist offering technical support and professional-grade equipment favoured by top UK security firms. We provide next day shipping for all urgent replacement needs, ensuring you never have to start a shift with substandard comms. From replacement acoustic tubes to heavy-duty headsets, our hub provides exactly what you need with minimal fuss. Take control of your equipment today and ensure clear audio for every critical instruction.
Browse Professional Radio Earpieces at Earpiece Hub
Frequently Asked Questions
Why can I hear static but no voice through my radio earpiece?
Hearing static but no voice typically indicates a physical blockage within the acoustic tube rather than an electronic failure. Since you can hear static, the transducer is functioning correctly, but the sound waves are trapped by condensation or earwax in the mushroom tip. Detach the tube and listen directly at the transducer port to confirm the audio is reaching the unit before it enters the plastic tubing.
How do I get moisture out of my acoustic tube earpiece whilst on shift?
The most effective way to remove moisture whilst on shift is to detach the clear tube from the transducer and blow through it firmly. This clears the condensation “bubbles” that act as physical sound barriers. To prevent future buildup, avoid leaving your equipment in cold vehicles overnight and store your kit in a dry, room-temperature environment between shifts to stop moisture from collecting.
Why does my radio audio only work when I wiggle the connector?
If your audio only functions when you wiggle the connector, you’re likely dealing with a stress fracture in the internal wiring. This is a common radio earpiece cutting out fix scenario where the copper strands near the jack plug have snapped or frayed. Whilst wiggling provides a temporary contact, the failure will eventually become permanent; a replacement is usually more cost-effective than attempting a complex micro-solder repair.
Can I use a Motorola earpiece with a Kenwood radio?
You cannot typically use a Motorola earpiece with a Kenwood radio because they use different pin spacings and internal wiring configurations. Attempting to force a connection can damage the radio’s accessory port or lead to intermittent signals. If you need to use specific kit across a mixed fleet, a universal earpiece adapter is the professional solution to ensure compatibility without purchasing entirely new sets of peripherals.
How often should I replace my earpiece ear tips?
We recommend replacing ear tips every 3 to 6 months to maintain hygiene and peak audio clarity. If the silicone appears discoloured, feels hard, or is permanently blocked with wax, it’s time for a fresh tip. Regular replacement is a simple radio earpiece cutting out fix that significantly improves both wearer comfort and incoming audio volume during long, high-stakes security shifts.
