




Uncategorized
Why is My Radio Earpiece Muffled? Troubleshooting and Fixes for 2026
Aug
Is that distorted, underwater sound a sign your hardware is dying, or is it just a five-minute maintenance task? It’s incredibly frustrating to miss critical instructions during a busy shift because your audio has suddenly turned into a dull hum. You’ve likely spent the last hour wondering why is my radio earpiece muffled whilst debating whether to bin the equipment entirely. Most of the time, that frustrating lack of clarity isn’t a terminal hardware failure at all, but a simple issue with the acoustic tube or connector.
We understand that in high-stakes security and professional communications, every second of audio clarity matters. This guide will show you exactly how to restore crystal-clear communication in minutes by identifying common culprits like condensation bubbles and wax build-up. You’ll learn a simple cleaning protocol to prevent future blockages and discover how to tell if you truly need a replacement acoustic tube or if it’s time to upgrade to 2026-standard noise-cancelling equipment for your Motorola or Kenwood radio.
Key Takeaways
- Identify whether physical blockages like earwax or condensation bubbles are the specific reason why is my radio earpiece muffled.
- Master the safe procedure for disconnecting and sanitising acoustic tubes to restore audio clarity without damaging the transducer.
- Learn how to inspect radio connectors for bent pins and debris to differentiate between simple blockages and electronic failure.
- Implement a 10-second daily maintenance routine to clear moisture and prevent audio distortion before your shift starts.
- Recognise when a cost-effective replacement ear tip or tube is the right fix compared to buying a full new earpiece.
Common Culprits Behind Muffled Radio Audio
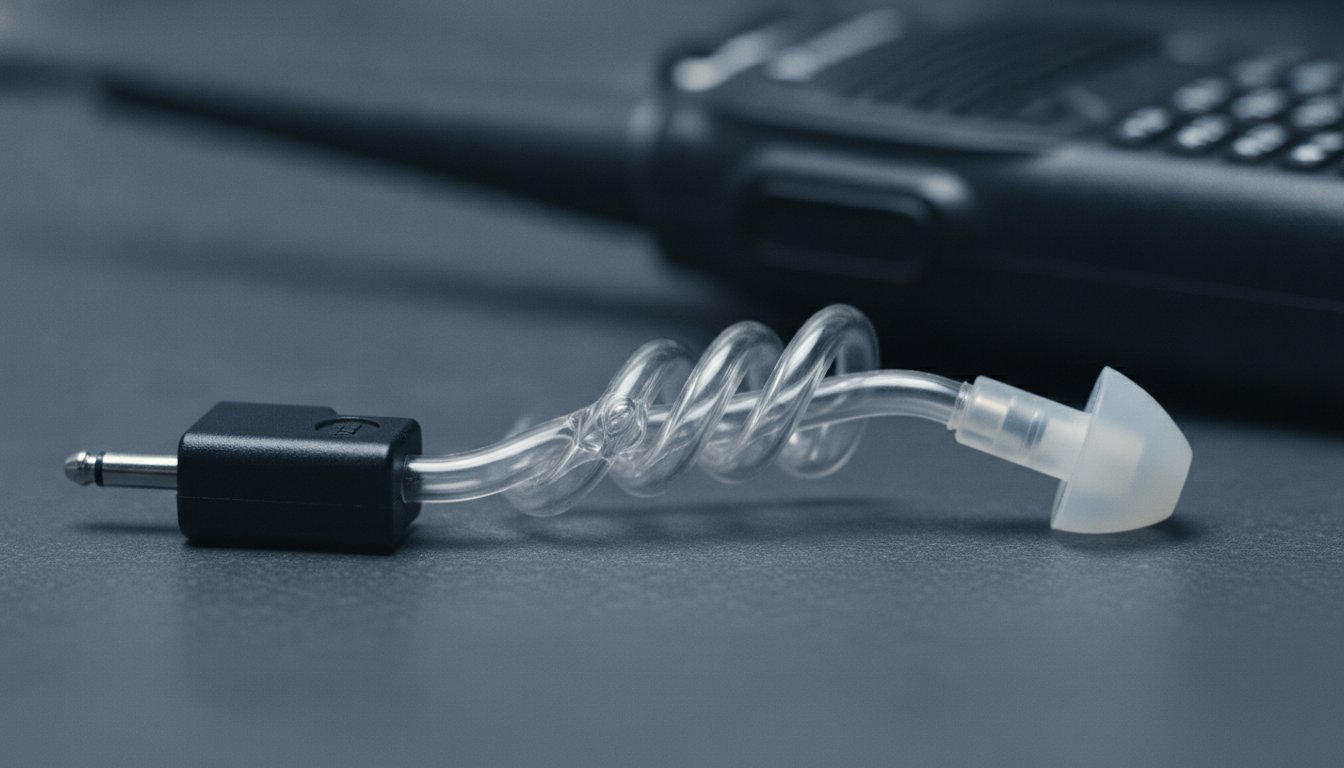
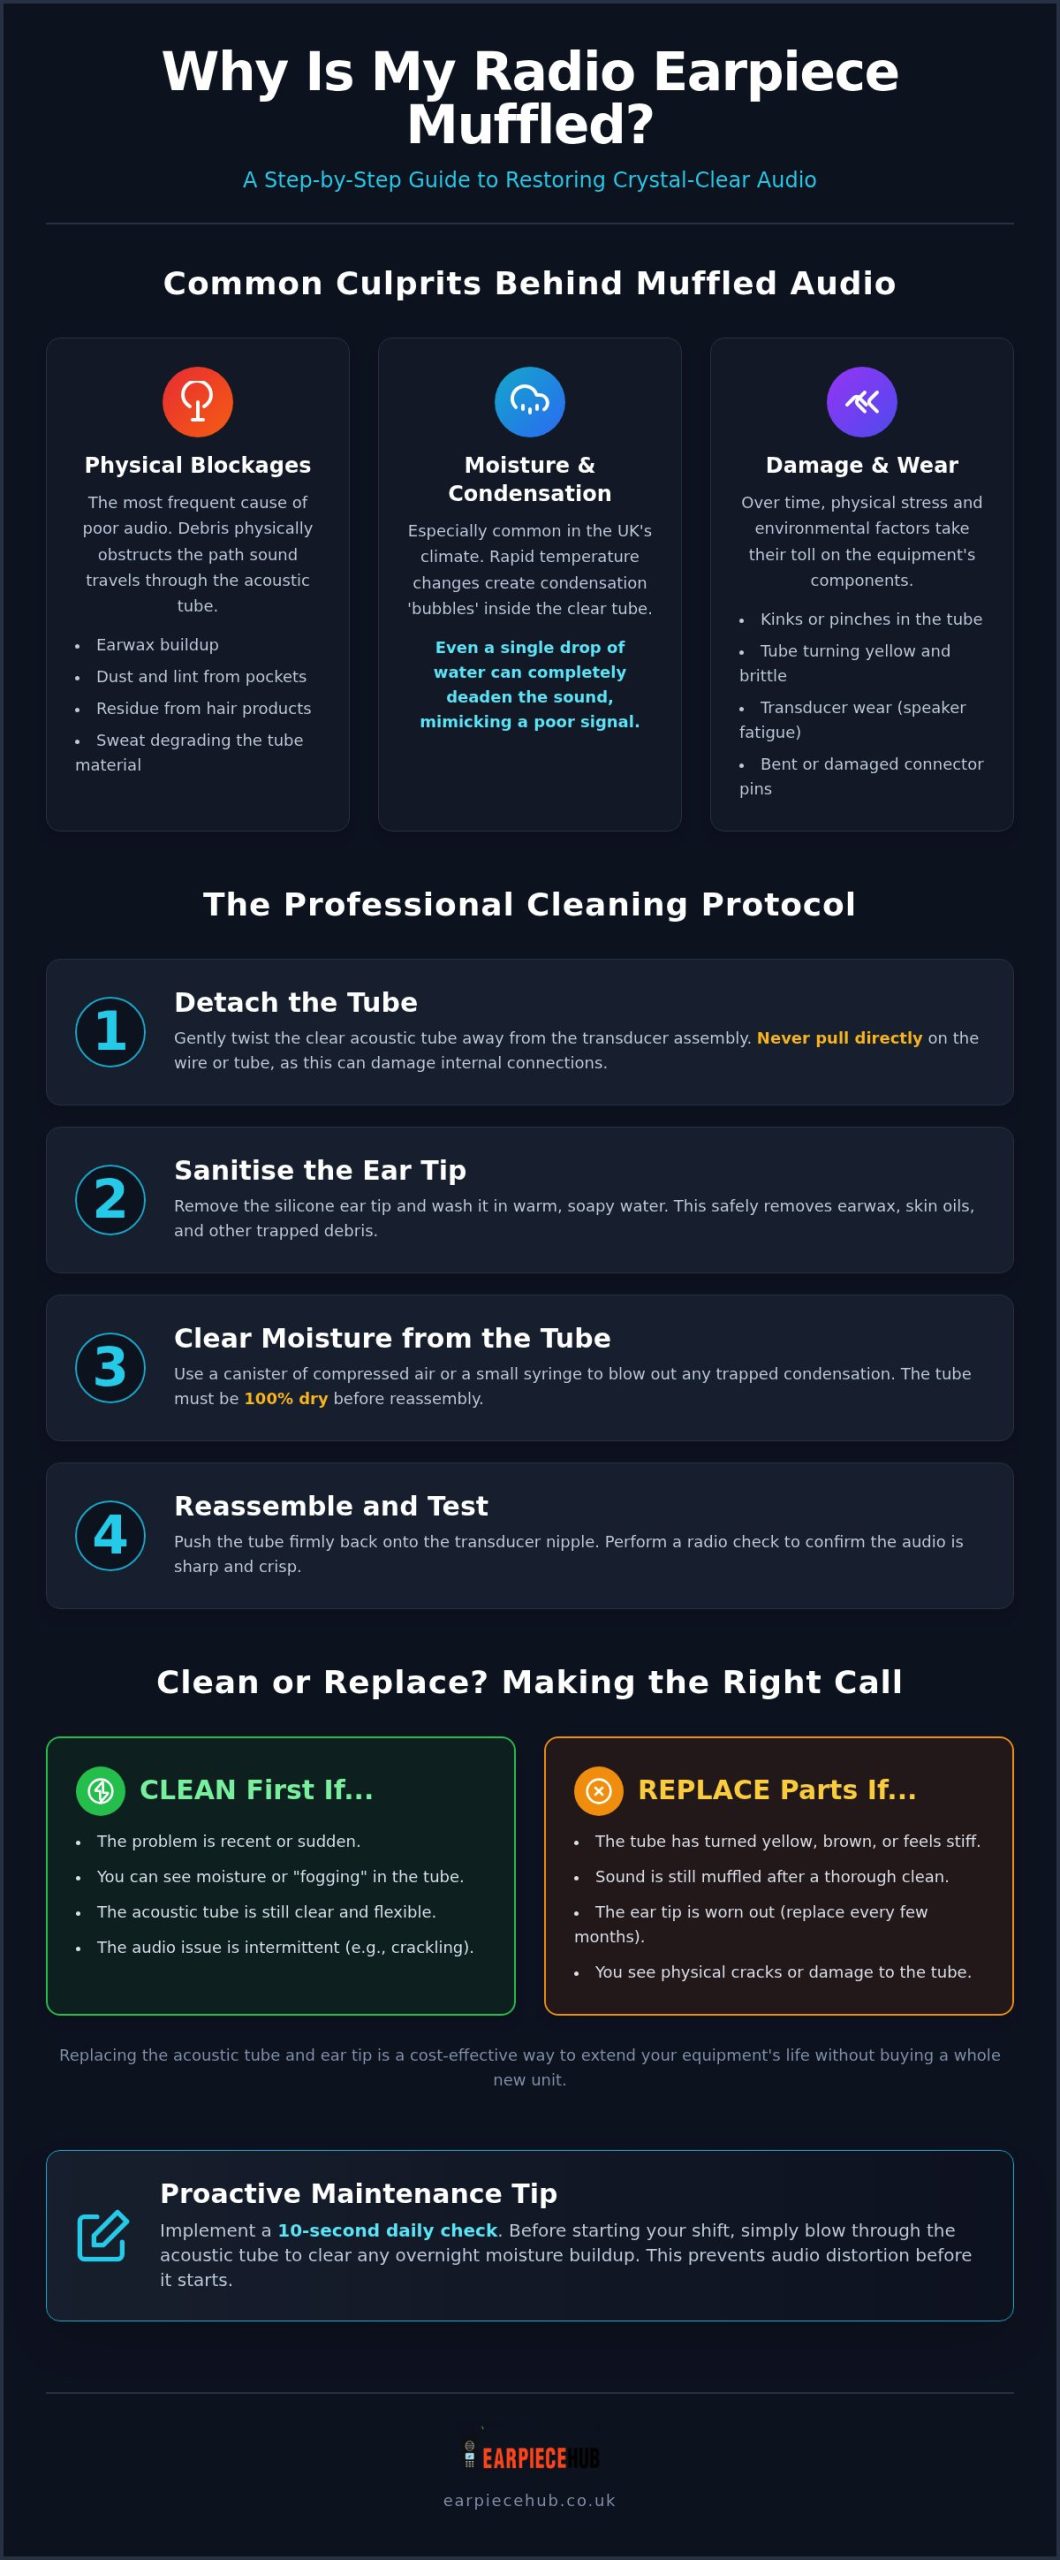
Understanding the mechanics of two-way radio technology helps in diagnosing sound issues quickly. If you’re currently asking why is my radio earpiece muffled, the answer usually lies in the physical path between the transducer and your ear. Whilst many users assume the radio handset itself is faulty, the culprit is often a simple obstruction within the acoustic tube or a failure in the speaker element. Sound travels as air pressure through the clear plastic tube; any interruption to this column of air will deaden the high frequencies first, leaving you with a bassy, unintelligible sound.
Electronic fatigue is another factor. The transducer, which is the small speaker that converts the radio signal into sound, can suffer from diaphragm wear over time. This leads to a loss of frequency response where the audio sounds “thin” or distant. However, before you assume the electronics have failed, you must check for physical damage like kinks or pinches in the tubing that permanently restrict audio flow.
The Role of Condensation in UK Climates
The UK’s unpredictable weather is a primary factor in earpiece failure. Moving from a cold exterior patrol into a heated security centre creates rapid temperature shifts that lead to condensation “bubbles” forming inside the clear tube. These tiny droplets act as physical barriers to sound waves. You’ll often hear a distinct bubbling or crackling sound that mimics a poor signal, but it’s actually just moisture blocking the audio path. Even a single drop of water can completely deaden the signal, making it vital to check for “fogging” inside the plastic.
Physical Blockages Beyond Earwax
Whilst earwax is the most common cause of a muffled signal, professionals often overlook other environmental debris. Dust and lint from uniform pockets or tactical vests frequently migrate into the ear tip during storage. Additionally, hair products like gels and sprays can create a tacky film on the ear tip that attracts grit, eventually clogging the small aperture. Sweat can also degrade the acoustic tube material over time, causing it to become yellowed and brittle, which further distorts the sound quality before it reaches your ear.
How to Restore Crystal-Clear Sound: A Step-by-Step Guide
Restoring clarity to your comms doesn’t require complex tools or technical degrees. Most audio issues vanish after a methodical flush of the acoustic path. It’s a precise task that requires patience to ensure you don’t damage the sensitive electronics in the transducer. If you’ve spent the morning wondering why is my radio earpiece muffled, following this protocol will likely solve the problem without needing a full equipment overhaul.
The Professional Cleaning Protocol
Follow these steps to clear a blocked airway and restore your signal:
- Detach the tube: Gently twist the clear acoustic tube away from the clothing clip and transducer assembly. Never pull directly on the wire or the tube itself, as this can strain the internal connections.
- Sanitise the ear tip: Remove the silicone ear tip and wash it in warm, soapy water. This removes earwax and skin oils that trap dust and debris.
- Clear the moisture: Use a syringe or a canister of compressed air to blow out any trapped condensation bubbles. If you use water to flush the tube, you must ensure it’s 100% dry before reattachment.
- Reassemble and test: Push the tube back onto the transducer nipple until it sits firmly. Perform a quick radio check to confirm the audio is sharp and crisp.
When to Replace vs. When to Clean
Sometimes cleaning isn’t enough to fix the issue. Over time, the plastic in acoustic tubes reacts to UV light and skin contact. If your tube has turned a yellow or brown hue, or if it feels stiff and brittle rather than flexible, it’s time for a replacement. A hardened tube cannot vibrate correctly, which is a common reason why is my radio earpiece muffled even after a thorough cleaning.
Choosing replacement acoustic tubes and ear tips is a cost-effective way to extend the life of your Motorola or Kenwood earpiece without the expense of a full new unit. Ear tips are high-wear items; professionals usually find that replacing them every few months ensures maximum hygiene and audio fidelity. If the sound remains distorted after replacing the tube, the fault likely lies within the transducer or the radio connector itself.
Troubleshooting Electronic and Connection Issues
If the cleaning steps outlined previously didn’t resolve the issue, the fault likely lies in the signal path or the speaker hardware. Electronic failure is less common than physical blockages, but it’s often the reason why is my radio earpiece muffled when the acoustic tube appears pristine. Signal degradation usually occurs at the two ends of the cable: the radio connector and the transducer housing.
Internal wire breaks are another hidden culprit. If your audio clarity fluctuates when you move your head or adjust your clothing, the copper core inside the cable is likely fractured. This creates high resistance, which chokes the audio signal and leads to a dull, distorted output. Because these wires are hair-thin, they cannot be reliably repaired once they’ve been over-stretched or kinked.
Testing the Transducer Element
The transducer is the small component that converts electrical signals into sound waves. To test its integrity, detach the clear acoustic tube entirely. Hold the transducer housing directly against your ear whilst a colleague transmits a message. If the audio is sharp and loud without the tube attached, your problem is purely physical. However, if the bare transducer still produces a muffled or quiet sound, the diaphragm inside has likely reached the end of its functional life. In this scenario, you should browse our specialist earpieces to find a compatible replacement for your specific radio model.
Connector Maintenance for Motorola and Hytera Radios
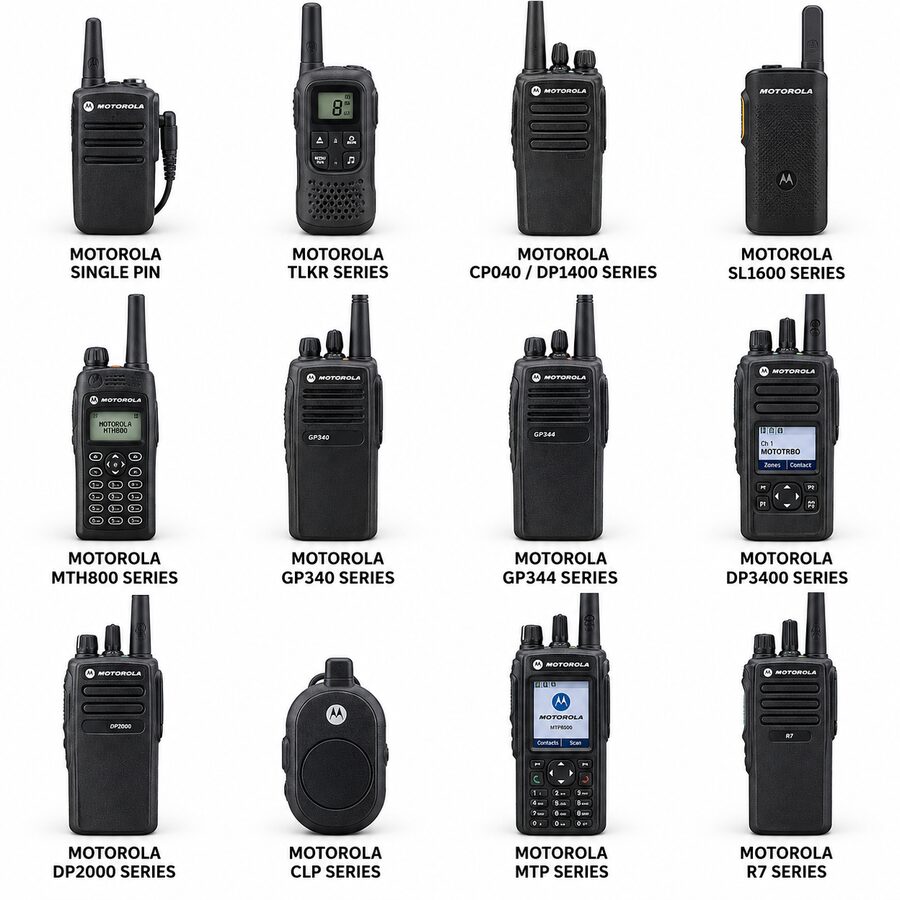
Professional radios like the Motorola DP1400 rely on multi-pin side connectors that are prone to oxidation. Dirt, sweat, and pocket lint can build up on the gold contacts, preventing a clean signal transfer. You should regularly clean these contacts on both the radio and the earpiece plug using a lint-free cloth and a small amount of isopropyl alcohol.
Check for bent or recessed pins on the earpiece connector. Even a fraction of a millimetre of misalignment can cause significant signal loss. Finally, ensure the mounting screw or clip is fully tightened. A loose connection often results in a “thin” sound that lacks the volume required for noisy environments. If the pins are physically damaged or the gold plating has worn away, the earpiece will require immediate replacement to ensure reliable communication.
Preventative Maintenance for Professional Radio Users
Reliability in communication isn’t just about the hardware you buy; it’s about the maintenance you perform. By adopting a structured routine, you’ll rarely have to ask why is my radio earpiece muffled during a live operation. Prevention is far more efficient than emergency troubleshooting when you’re in the middle of a high-pressure shift. A few seconds of care each day ensures that your audio remains crisp and your equipment lasts significantly longer.
The “Daily Blow-Out” is a 10-second habit that involves detaching the acoustic tube and using a quick burst of air to clear any moisture accumulated during the previous shift. This prevents the condensation bubbles mentioned earlier from ever forming. Proper storage is equally vital. Avoid wrapping the wire tightly around the radio handset. This causes internal kinking and permanent audio distortion. Instead, loosely coil the cable and store it in a dedicated pouch to maintain the integrity of the copper core.
Hygiene standards also impact audio quality. Skin oils and earwax naturally degrade silicone and plastic over time. We recommend replacing ear tips every three to four months and acoustic tubes every six months. This ensures maximum acoustic transparency and prevents the yellowing that often signals a brittle, muffled tube.
The Security Professional’s Daily Kit Check
Before every deployment, perform a rapid three-point inspection of your gear:
- Visual Inspection: Hold the acoustic tube up to the light. Look for discolouration, moisture droplets, or debris in the ear tip.
- Tactile Feedback: Press the PTT (Push-To-Talk) button. It should feel clicky and responsive, not “mushy” or stuck.
- Seating Check: Ensure the ear tip is firmly seated on the tube and the connector is screwed tightly into the radio port.
Upgrading Your Communication Gear
Sometimes the mission requirements change, and your standard equipment needs to keep pace. If you find yourself frequently wondering why is my radio earpiece muffled in high-decibel environments like concerts or stadiums, it may be time to move beyond a standard tube. Specialised G-shape or D-shape earpieces offer different acoustic profiles and better stability for high-movement roles. For extreme environments, noise-cancelling overhead headsets provide the isolation needed for clear reception.
Investing in professional-grade peripherals means fewer failures on the job. High-quality materials resist sweat and UV damage far better than budget alternatives. If your current setup is showing signs of wear, you can browse our range of replacement acoustic tubes and ear tips to restore your kit to factory standards immediately.
Secure Your Communication Clarity
You don’t have to tolerate distorted audio or risk missing crucial instructions during a high-stakes shift. By following the cleaning and maintenance protocols we’ve discussed, you can resolve most audio issues in minutes. You now have the expertise to identify exactly why is my radio earpiece muffled and determine if the fix is a simple cleaning task or a necessary hardware replacement. Consistent daily kit checks remain your most effective defence against sudden communication failure. Act now to restore clarity.
If your hardware is showing signs of permanent wear or you require professional-grade spares to restore performance, we provide the reliable equipment you need. As a specialist UK retailer, we offer next day shipping on components compatible with Motorola, Hytera, and Kenwood radios. Don’t let poor audio compromise your safety or efficiency on the job. Our specialist UK support team is ready to help you find the perfect fit for your handset. Shop Professional Radio Earpieces and Accessories at Earpiece Hub and ensure your team stays connected with absolute clarity.
Frequently Asked Questions
How do I get water out of my radio earpiece tube?
Detach the clear acoustic tube from the transducer housing first to protect the electronics. Use a canister of compressed air or a syringe to force a high-pressure blast of air through the tube, which will clear any trapped droplets. If you don’t have these tools, you can swing the tube in a wide arc to use centrifugal force to move the water toward the ear tip. Always ensure the tube is completely dry before you reconnect it.
Why does my radio earpiece sound like it is underwater?
This “underwater” effect is almost always caused by a moisture blockage or a large condensation bubble trapped in the bend of the tube. This is a primary reason why is my radio earpiece muffled. The sound waves are physically unable to pass through the liquid barrier, which results in the distorted, submerged audio quality you’re experiencing. A quick air flush usually restores the sound to its original clarity immediately.
Can I use a hearing aid cleaner on my acoustic tube?
You can certainly use air-based hearing aid cleaning tools, such as bulb blowers or vent cleaners, to maintain your equipment. These are excellent for removing daily moisture and debris from the narrow channels. However, avoid using liquid chemical cleaners designed for medical hearing aids unless they’re specifically labelled as safe for PVC or surgical-grade plastics. Warm, mild soapy water remains the most effective and safest way to sanitise the tube and silicone tip.
How often should I replace my acoustic tube earpiece?
We recommend replacing the clear acoustic tube and silicone ear tip every three to six months for optimal performance. Over time, the plastic reacts to skin oils and UV light, which causes it to become yellowed or brittle. This hardening prevents the tube from vibrating correctly, which is another common reason why is my radio earpiece muffled. Frequent replacements ensure you maintain professional hygiene standards and peak audio fidelity during your shift.
Will a muffled earpiece damage my two-way radio?
A muffled earpiece won’t physically damage the internal circuitry of your radio. The issue is purely acoustic and confined to the peripheral hardware. However, it does create operational risks and can lead to user error if a critical message is misunderstood. Users also tend to turn their radio volume to the maximum level to compensate for the muffled sound, which drains the battery faster and can eventually strain the radio’s internal audio amplifier.
