




Uncategorized
Remote Speaker Microphone Not Working? How to Troubleshoot Radio Audio Issues
Jul
That sudden silence on the other end of your radio isn’t always the sound of a terminal hardware failure. Most professionals assume that when a remote speaker microphone is not working, the unit belongs in the bin, but the reality is usually far less expensive. Often, the culprit is a simple mechanical blockage or a loose connection rather than a fried circuit board.
We understand the frustration of intermittent audio during a critical operation or a PTT button that refuses to engage when you need it most. You need kit that works as hard as you do, and equipment downtime is simply not an option in high-stakes environments. This guide provides a specialist’s approach to identifying and fixing common faults to get your comms back online immediately. We will walk you through systematic checks for connectivity, debris, and cable integrity. By the end, you’ll know exactly how to restore clear audio or determine if it’s finally time to invest in a replacement.
Key Takeaways
- Learn why your remote speaker microphone is not working by checking for common culprits like connector debris or moisture ingress.
- Master the “wiggle test” and port inspection techniques to identify intermittent cable faults before they cause total communication failure.
- Identify the specific differences between 2-pin and multi-pin connector failures to diagnose your equipment with specialist accuracy.
- Establish a preventative maintenance routine to protect your radio accessories whilst in use and during storage.
- Determine if your equipment is beyond repair using our guide to end-of-life signs and hardware replacement triggers.
Common Reasons Your Remote Speaker Microphone is Not Working
A failed connection during a shift isn’t just an inconvenience; it’s a safety risk. When you find your remote speaker microphone is not working, the issue usually stems from physical degradation rather than software glitches. Because two-way radio technology relies on an unbroken electrical circuit between the handset and the accessory, even minor obstructions can cause total silence. Most failures occur at the points of highest physical stress: the connector pins, the cable strain relief, and the mechanical PTT switch.
Internal wire breakage is a frequent culprit, often caused by “tugging” the cable to adjust its position. Over time, the copper strands inside the protective jacket fray near the connector or the microphone housing. This leads to intermittent audio that cuts out when you move. Similarly, the Push-to-Talk (PTT) button is a mechanical component with a finite lifespan. Dust or grit can jam the internal spring, or the contact point can wear down. If your remote speaker microphone is not working despite a solid connection, the PTT assembly might have reached its mechanical limit, leaving you unable to transmit whilst still being able to hear incoming calls.
The “Silent Failure” of Accessory Ports
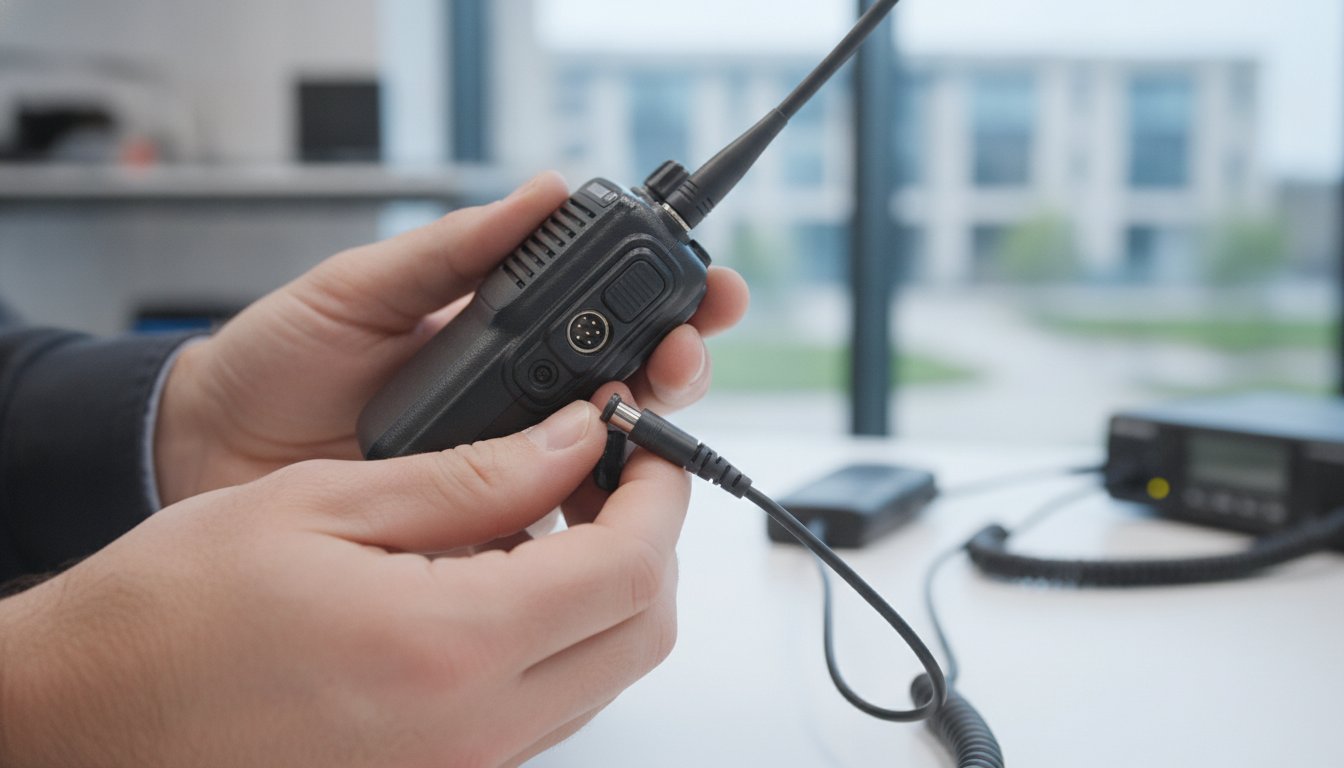
The fault doesn’t always lie with the microphone itself. Debris like pocket lint, dirt, or metal filings often migrates into the radio side-connector. These tiny obstructions prevent the pins from seating correctly, breaking the circuit. Multi-pin connectors, common on professional Motorola and Hytera units, are particularly susceptible to oxidisation. This thin layer of corrosion acts as an insulator. If you’ve swapped your RSM to a different radio and it suddenly works, the accessory port on the original handset is the likely failure point.
Environmental Impact on Audio Quality
Operating in harsh British weather takes a toll on audio kit. Moisture ingress is a primary threat; if water reaches the microphone element, it can cause muffled sound or permanent “open mic” behaviour where the radio stays in transmit mode. Dust works differently, physically clogging the speaker grille and reducing volume levels to an unusable whisper. Temperature extremes also play a role. Cold weather makes cable jackets brittle, leading to cracking and exposing the internal shielding to the elements, whilst extreme heat can soften the adhesive seals that keep the unit weatherproof.
Systematic Troubleshooting: A Step-by-Step Fix
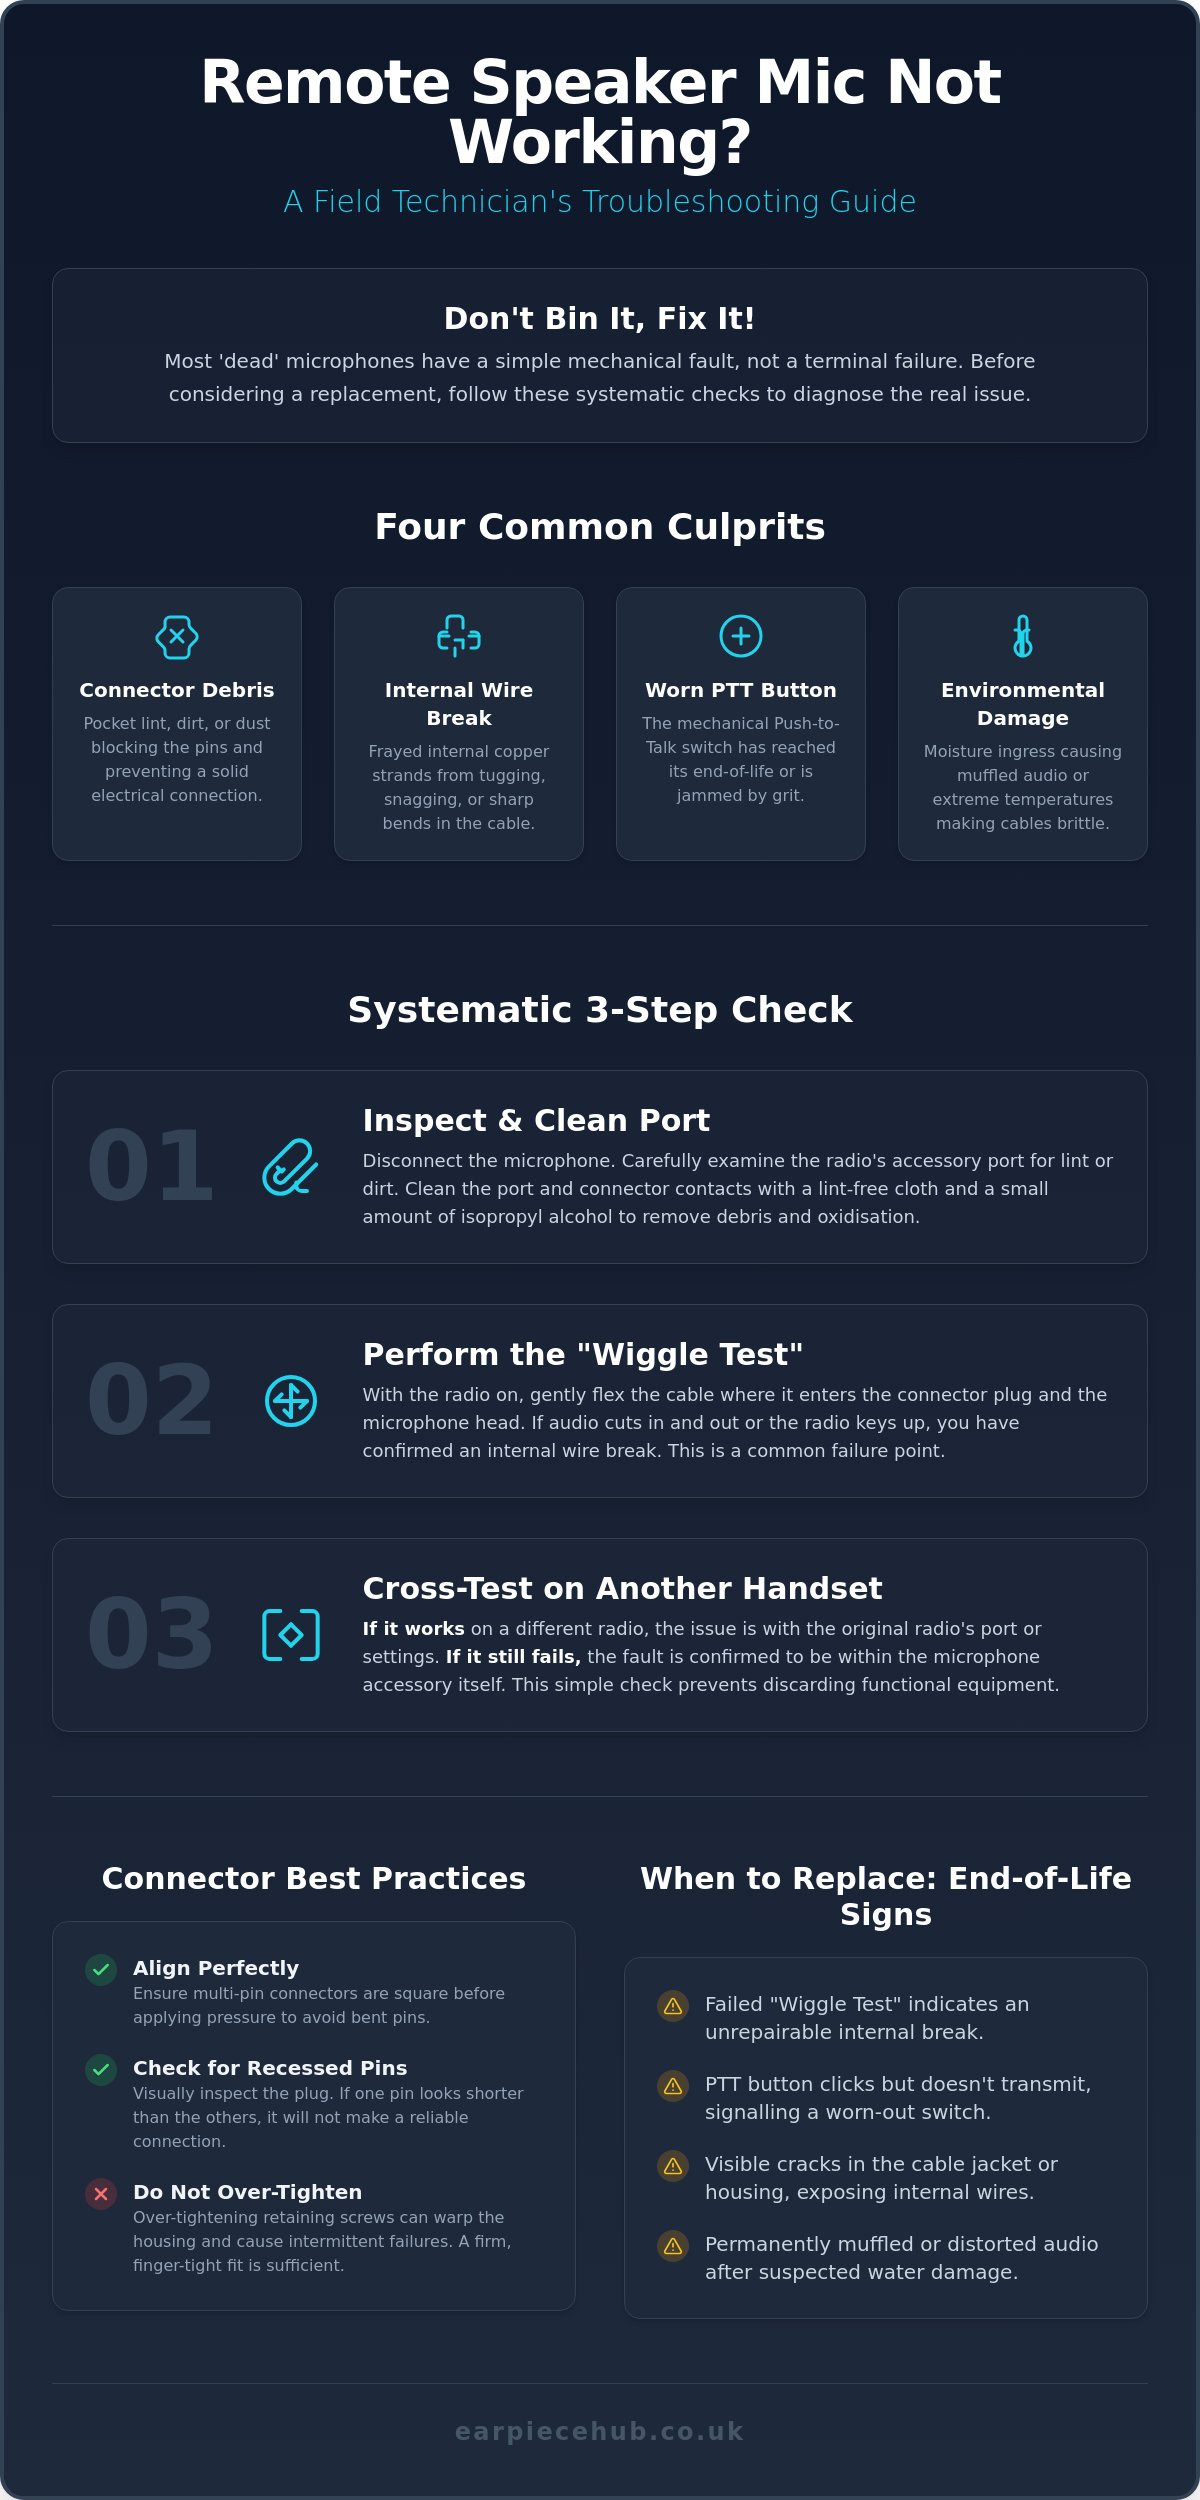
Troubleshooting is a process of elimination. If your remote speaker microphone is not working, don’t rush to replace it without a thorough inspection. Start by disconnecting the unit entirely. Examine the radio’s side-connector port for any trapped debris or pocket lint that might prevent a flush fit. A quick clean using a lint-free cloth and a small amount of isopropyl alcohol often restores a “dead” mic by removing thin layers of oxidisation on the contact points.
The “wiggle test” is your most effective tool for identifying internal wire fatigue. Whilst the radio is on and the RSM is connected, slowly flex the cable at the points where it enters the plug and the microphone head. If the audio cuts in and out or the radio suddenly keys up, you’ve confirmed an internal break. This is a common result of the cable being caught on vehicle doors or snagged during foot patrols. If the cable passes this test, check your radio’s internal settings; some digital handsets require the accessory port to be manually enabled in the audio menu.
Always perform a cross-test with a known working handset. If the remote speaker microphone is not working on a second radio, the fault is definitely within the accessory. However, if it functions perfectly on another unit, the issue lies with the original radio’s port or software configuration. This simple step prevents you from discarding functional kit and helps you isolate the true source of the failure.
Performing the Connection Reset
Seating the connector correctly is vital for a stable circuit. For multi-pin Motorola or Hytera style connectors, ensure the alignment is perfectly square before applying pressure. A common error is over-tightening the retaining screw. This can warp the connector housing and pull the pins away from the contacts, causing intermittent failure. A firm, finger-tight fit is all that’s required. Also, look for recessed pins on the RSM plug; if one pin is shorter than the others, it won’t make a reliable connection.
Isolating the PTT and Audio Path
Determine if the failure is mechanical or electrical by testing the PTT and speaker separately. If the PTT button clicks but the radio doesn’t transmit, the internal switch has likely reached its end-of-life. To test the speaker, turn the radio volume to maximum and listen for the power-up tone. Most professional Remote Speaker Microphone (RSM) units include a 3.5mm jack for earpieces. Plugging in a compatible accessory can help you identify if the failure is in the main speaker element or the audio routing circuit. Following a consistent Preventative Maintenance to Avoid Audio Failure routine will help you catch these mechanical issues before they lead to a total comms blackout.
Identifying Cable and Connector Faults
Physical inspection is the next logical step when a remote speaker microphone is not working. You must look beyond the surface and examine the high-stress areas where the cable meets the hardware. Professional RSMs are designed for durability, but they aren’t indestructible. Most cable-related failures occur at the strain relief points—the rubberised sleeves that protect the wire as it enters the plug or the microphone housing. If you notice white stress marks on the plastic or see the outer jacket pulling away to reveal the internal shielding, the copper strands inside are likely fractured.
The 3.5mm earpiece jack on the side of the unit is another frequent, yet often overlooked, failure point. These auxiliary ports contain a small mechanical leaf switch. When you insert an earpiece, this switch physically disconnects the main RSM speaker. If grit, lint, or moisture enters this jack, the switch can jam in the “earpiece” position. This leaves your main speaker silent even when no earpiece is connected. If your remote speaker microphone is not working and the PTT still keys the radio, a blocked or damaged 3.5mm jack is the primary suspect.
Assess the integrity of the coiled cord’s elasticity. A functional cord should snap back into a tight spiral immediately after being stretched. If the cord feels “lazy” or remains elongated, it’s a sign of internal “cable memory” and conductor fatigue. Whilst some DIY guides suggest stripping the cable to solder broken wires, professional-grade cables are typically moulded and sealed for weatherproofing. Attempting a field repair usually compromises the unit’s IP rating, making a full replacement the only safe choice for high-stakes environments.
Common Failure Points in Professional RSMs
- Microphone Entry Point: Constant pivoting of the mic on a shoulder lapel puts immense pressure on the top strain relief.
- Cable Memory: Repeatedly over-stretching the cord beyond its intended length causes micro-fractures in the copper core.
- Jacket Integrity: Any nicks or cuts in the outer insulation allow moisture to wick down the cable, corroding the pins from the inside out.
Connector Specifics: Motorola vs Hytera
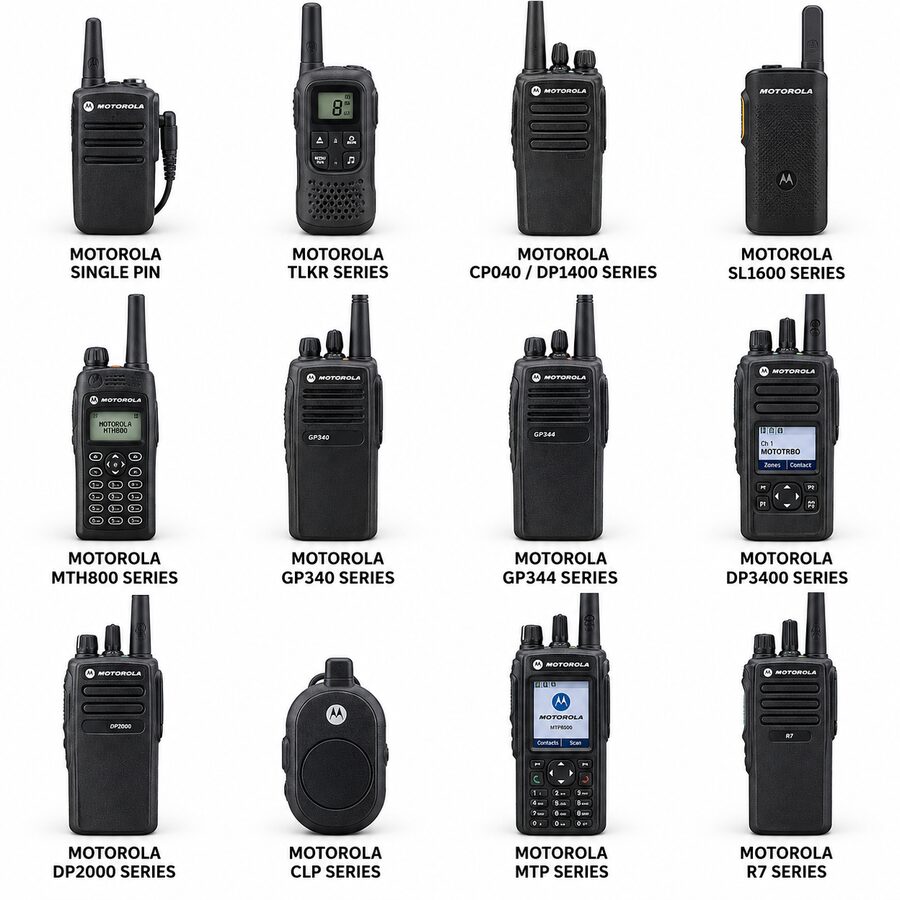
Different connector types present unique troubleshooting challenges. The Motorola DP1400 uses a classic 2-pin connection that relies on the physical tension of the pins. If these pins become slightly splayed or lose their “spring,” the connection will fail during movement. High-tier Hytera digital radios often utilise multi-pin side-connectors with flat, gold-plated contact pads. These pads require absolute cleanliness; even a small amount of skin oil or salt residue can cause “hot” microphones where the radio stays in a permanent transmit state. Be wary of using low-quality earpiece adapters. Poorly manufactured clones often have incorrect pin alignment, which can permanently deform the delicate sockets inside your radio’s accessory port.
Preventative Maintenance to Avoid Audio Failure
Reliability in the field is a direct result of how you treat your gear during downtime. If you find your remote speaker microphone is not working during a shift, it’s often because small issues were ignored during the week. Establish a routine to inspect and clean your accessories. This proactive approach saves on replacement costs and ensures your team stays connected when it matters most. Professional equipment requires professional care; neglecting the physical state of your connectors is the leading cause of avoidable hardware failure.
Training staff on the correct way to handle equipment is your first line of defence. Ensure every team member knows to disconnect the RSM by gripping the connector housing, never by pulling the cord. Tugging on the cable to remove it from the radio is the fastest way to cause the internal fraying discussed in previous sections. Additionally, always keep the radio’s accessory port dust cover in place when an RSM is not attached. These small plastic or rubber flaps are often lost or discarded, but they are essential. Without them, the radio’s internal contacts are exposed to sweat, rain, and debris. This eventually corrodes the port and makes any attached microphone unreliable.
Cleaning and Organising Your Equipment
Use a soft, dry toothbrush or a specialised contact cleaning pen for the pins. Avoid using metal tools like screwdrivers to scrape the contacts, as this removes the protective gold plating and accelerates corrosion. If you work in construction or heavy industry, speaker magnets are notorious for attracting iron filings through the grille. These tiny metal shards dampen the diaphragm’s movement, leading to muffled sound. Use a small piece of adhesive putty to gently lift these out without pushing them further into the housing. When storing your equipment, avoid wrapping the cord tightly around the radio handset. This creates sharp bends that lead to internal wire fatigue. Instead, coil the cable in large, loose loops and store them in a dedicated pouch or locker to maintain the cable’s natural elasticity.
Daily Pre-Shift Inspection Checklist
A 30-second check before you head out can prevent a remote speaker microphone not working at a critical moment. Follow these steps every time you draw your kit from the charger:
- Visual check: Inspect the cable for nicks, cuts, or exposed shielding near the strain relief points.
- Tactile check: Press the PTT button several times. It should feel crisp and provide a distinct tactile “click” without sticking or feeling “mushy.”
- Connection check: Ensure the connector is seated flush against the radio body and the retaining screw is firm but not over-tightened.
- Audio check: Perform a short “radio check” transmission to a colleague to verify both transmit and receive clarity.
If your current kit is showing signs of wear that cleaning can’t fix, shop our range of professional Remote Speaker Microphones for a reliable upgrade with next day shipping.
When to Replace Your Remote Speaker Microphone
Even the most robust equipment has a finite operational life. If you’ve followed the systematic troubleshooting steps and your remote speaker microphone is not working, it’s time for a professional assessment. A microphone element that has reached end-of-life often presents as permanent distortion or a “thin” sound that no amount of cleaning can fix. This happens when the internal diaphragm becomes stretched or loses its magnetic properties after years of high-volume use. In these cases, the cost of labour for a technical repair often exceeds the price of a brand-new, warranted unit.
Replacement is also necessary when the housing’s structural integrity is compromised. A cracked casing or a missing rubber seal means the unit is no longer weather-resistant. For security professionals working in unpredictable British weather, an unsealed RSM is a liability that will eventually lead to a short circuit. Choosing a replacement requires a strict focus on compatibility. Ensure your new unit matches the specific electrical requirements of your handset, whether you need a 2-pin Kenwood style or a multi-pin Motorola connector. Upgrading to a noise-cancelling model is a smart move if you frequently operate in loud event centres or near traffic, as these units filter out background chatter to prioritise your voice.
Upgrading Your Comms Setup
Modernising your kit can significantly improve operational efficiency. Many professionals are now moving towards IP-rated RSMs that offer superior protection against dust and heavy rain. These are particularly valuable for outdoor security and large-scale event work where equipment is exposed to the elements for long shifts. You can also increase the versatility of your fleet by using an earpiece adapter for any radios, allowing you to use your preferred audio accessories across different brands. Integrating a discreet earpiece with your RSM using the auxiliary jack is another effective way to maintain privacy whilst still having the convenience of a shoulder-mounted PTT button.
The Earpiece Hub Advantage
We position ourselves as a Reliable Specialist for the security and communications industry. Our status as a central Hub for technical equipment means we provide more than just a store; we offer the expertise needed to keep your team connected. Whether you need a specialist Remote Speaker Microphone (RSM) for Motorola, Hytera, or Kenwood radios, our range is built for the high-stakes nature of professional duty. We understand the urgency of equipment failure, which is why we offer Next Day Shipping and 24/7 Support to ensure you’re never without vital comms. Shop our range of high-performance Remote Speaker Microphones here to find a reliable replacement today.
Restore Your Critical Communications
Resolving the issue of a remote speaker microphone not working usually requires a methodical approach to physical maintenance. By implementing a weekly cleaning routine, performing regular “wiggle tests” for cable fatigue, and ensuring your radio’s accessory ports remain free of debris, you can prevent the majority of audio failures before they occur. Most issues stem from simple mechanical obstructions or oxidisation rather than terminal hardware faults. However, when internal components reach their end-of-life or weatherproofing seals fail, investing in professional-grade replacements is the only way to guarantee team safety.
Earpiece Hub is your reliable specialist for high-performance radio peripherals. We offer expert UK-based support and deep technical knowledge of Motorola, Hytera, and Kenwood systems to help you find the perfect match for your fleet. Don’t let degraded audio quality compromise your operational efficiency or security standards. With our specialist guidance and rapid delivery, you can get your communications back to peak performance without delay.
Browse our professional Remote Speaker Microphones with Next Day Shipping and experience the hub of reliable comms. Keep your signals clear and your team protected.
Frequently Asked Questions
Why can I hear others, but they cannot hear me through my RSM?
This usually indicates a failure in the transmit circuit or the microphone element. If you can hear incoming calls but cannot respond, the fault likely lies with the PTT switch or a fracture in the cable’s internal wiring. Check if the radio’s transmit light activates when you press the button. If it doesn’t, the mechanical switch is the culprit. If it does transmit but with total silence, the internal microphone element has likely failed.
How do I clean the connector pins on my radio microphone?
Use a lint-free cloth lightly dampened with isopropyl alcohol to wipe the gold-plated pads or pins. This removes oxidisation and skin oils that cause poor connectivity. For the radio-side port, use a soft, dry toothbrush to gently flick out any trapped pocket lint or dust. Never use metal tools or abrasive materials to scrape the contacts, as this strips the protective plating and leads to permanent hardware failure.
Can a low battery in my radio cause the remote mic to stop working?
Yes, a depleted battery often lacks the voltage required to drive external accessories. Professional radios prioritise internal functions when power levels drop, meaning the accessory port might be disabled or underpowered. If you find your remote speaker microphone not working during a long shift, swap the handset battery for a fully charged one. This simple step often resolves audio issues without the need for hardware repairs.
Why does my radio keep transmitting even when I am not pressing the PTT?
This “hot mic” behaviour is typically caused by moisture ingress or debris shorting the PTT pins. Sweat, rain, or metal filings can create a conductive bridge that tricks the radio into a permanent transmit state. Disconnect the unit immediately and clean the connector pins thoroughly. If the issue remains after the unit is completely dry, the internal PTT spring has likely failed mechanically and the unit must be replaced.
Is it better to repair a broken RSM cable or buy a new one?
Replacement is almost always the safer and more cost-effective option for professional environments. Modern RSM cables are moulded and sealed to maintain specific IP weatherproofing ratings. Stripping and soldering wires in the field compromises signal integrity and leaves the unit vulnerable to moisture. Given the high-stakes nature of security and emergency comms, a new unit ensures a level of reliability that a DIY repair simply cannot match.
Will a Motorola RSM work with my Kenwood radio if I use an adapter?
Generally, this is not recommended. Even with a physical adapter, the internal wiring configurations and electrical impedances differ significantly between brands. Using an incompatible RSM can lead to muffled audio, permanent transmission, or even electrical damage to the radio’s accessory port. To ensure clear two-way communication, always use peripherals designed specifically for your radio’s make and model rather than relying on universal adapters.
Why is the audio from my speaker microphone muffled or distorted?
Muffled audio is usually caused by physical blockages in the speaker grille. Iron filings, dust, or dried mud can accumulate over the speaker magnet, preventing the diaphragm from moving freely. If the sound is distorted or “crackly,” the internal speaker element may have suffered moisture damage or been “blown” by excessive volume. Always check for external debris before assuming the internal circuitry has failed, as a quick clean often restores clarity.
What should I do if my RSM gets wet during a shift?
Disconnect the unit from the radio immediately to prevent a short circuit. Wipe the exterior dry with a clean cloth and leave the unit in a warm, dry area with the connector pins facing downwards. Do not use high heat sources like hairdryers, as extreme temperatures can warp the plastic housing or damage the delicate microphone membrane. Ensure the unit is completely dry before reconnecting it to your radio to avoid permanent damage.
