




Uncategorized
Clear Tube Earpiece Replacement: The Professional Guide to Restoring Audio Clarity
Jul
Is your critical communication being compromised by a small piece of plastic? When your audio starts sounding like it’s underwater, the culprit is rarely the radio itself but rather a degraded acoustic tube. A clear tube earpiece replacement is the most cost-effective way to restore professional standards without investing in entirely new hardware. Over time, these tubes trap moisture, skin oils, and debris, leading to muffled reception and serious hygiene concerns for security and event staff whilst also making the gear look unprofessional.
We understand how frustrating it is to miss a vital transmission during a high-stakes shift due to distorted sound or a brittle, discoloured tube. You shouldn’t have to guess whether you need a twist-lock or a push-fit connector. This guide explains how to identify when it’s time for a change, select the correct connector type for your Motorola or Kenwood gear, and fit your new tube for maximum comfort. Learn how to maintain your equipment for the long term to ensure crystal clear audio and a professional appearance every time you’re on duty.
Key Takeaways
- Identify the specific signs of audio degradation and hygiene risks that signal it is time for a professional clear tube earpiece replacement.
- Master the technical differences between Twist-Lock and push-fit connectors to ensure perfect compatibility with your Motorola or Hytera radio gear.
- Learn the precise steps for disconnecting old tubes to protect sensitive transducer pins from accidental damage during maintenance.
- Discover how to utilise air-blowers and specialised cleaning routines to prevent moisture build-up and extend the operational life of your equipment.
- Explore the comfort advantages of upgrading from standard mushroom tips to semi-custom ear moulds for demanding, long-duration shifts.
Restoring Audio Clarity: When to Consider a Clear Tube Earpiece Replacement
The clear acoustic tube serves as the vital conduit for sound, bridging the gap between the electronic transducer and your ear. It operates on the physical principles found in acoustic tube headphones, using air to carry vibrations. Because this system is mechanical rather than purely electronic at the ear-end, it’s susceptible to physical obstructions. Professionals in the field must recognise that this component is a consumable item, not a permanent fixture. Maintaining a clear signal requires regular inspection and timely hardware updates.
Moisture is the primary enemy of audio clarity. Sweat and humidity create condensation within the coils, forming a physical barrier that dampens sound waves. This liquid acts as a muffler, making incoming transmissions sound distant or “muddy.” When combined with earwax build-up amongst the internal ridges, the audio quality drops significantly. A clear tube earpiece replacement isn’t just about aesthetics; it’s about operational safety. If you can’t hear your team during a critical incident, the gear has failed its primary purpose.
Hygiene and professionalism are equally important factors. In high-stakes security or hospitality roles, your appearance reflects your organisation’s standards. A yellowed, stained tube suggests poor maintenance and can be off-putting to the public. It’s also a health risk. Bacteria thrive in the warm, moist environment inside the hollow plastic. Replacing the tube regularly ensures you aren’t introducing old contaminants into your ear canal during a long shift.
Signs Your Acoustic Tube Needs Replacing
- Muffled Audio: If transmissions sound like the speaker is underwater, moisture or wax has likely blocked the air passage.
- Physical Hardening: Over time, exposure to UV light and skin oils makes the plastic brittle. If the tube feels stiff rather than supple, it’s prone to snapping.
- Visible Discolouration: A cloudy, yellow, or grey colour indicates that the plastic has degraded beyond the point of cleaning.
The Diagnostic Test: Tube vs. Transducer
Performing a simple diagnostic check saves time and money. If you’re hearing crackling, don’t assume the entire unit is broken. Disconnect the clear tube from the transducer by twisting or pulling it away. Hold the transducer directly to your ear and listen to a transmission. If the audio is sharp and clear, the tube is the culprit. This confirms that a clear tube earpiece replacement is the only fix you need. If the crackling persists without the tube, the fault likely lies in the wiring or the connector pins, requiring a different repair strategy.
Choosing the Right Replacement: Compatibility and Connector Types
Whilst many tubes appear identical at a glance, the connector is the critical variable that determines performance. A clear tube earpiece replacement must match your specific hardware to prevent audio leakage and physical disconnects. If the connection isn’t airtight, the sound waves dissipate before they reach your ear, leading to the common complaint of “low volume” even when the radio is turned up to its maximum setting.
The “Twist-Lock” or bayonet style is the industry standard for professional Motorola and Hytera kits. These connectors feature two small lugs that require a precise quarter-turn to secure the tube to the transducer housing. This mechanical lock ensures the tube remains attached even during high-intensity movements or physical confrontations. If your current earpiece has a notched plastic base where the tube meets the wire, you’re using a bayonet system.
In contrast, older or budget-friendly models often utilise “Friction-Fit” or push-on connectors. These rely on the tension of the plastic tube over a barbed nipple. Whilst simpler to manufacture, they are prone to slipping as the plastic stretches over time. Measuring the internal diameter of your existing tube is essential here; a gap of even half a millimetre will result in significant volume loss. If you’re struggling to identify your connector type, checking our professional range of replacement acoustic tubes and ear tips will help you find the exact fit for your radio brand.
Twist-Lock vs. Push-On Connectors
Visual identifiers are your best friend when selecting parts. Look for the locking lugs at the base of your current tube. If the base is smooth and translucent, you likely have a push-on model. Poorly fitted replacements create air gaps that force users to increase radio volume to unsafe levels. Adhering to hearing protection best practices means ensuring a perfect seal to maintain clear audio at lower, safer decibels. This protects your long-term hearing health whilst ensuring you never miss a call.
Material Matters: Silicon vs. PVC
Material selection impacts both longevity and comfort. Standard PVC tubing is cost-effective but tends to become brittle and discoloured when exposed to skin oils and UV light. Medical-grade silicon is the preferred choice for specialists. It remains supple during long shifts and provides a better acoustic seal. Surgical-grade tubing also resists the chemical breakdown caused by sweat, meaning it won’t turn that tell-tale yellow as quickly as standard plastic. For covert operations, consider the tube length; a longer coil allows for more discreet routing behind the ear and under a collar.
Step-by-Step Guide: How to Fit Your New Acoustic Tube
Performing a clear tube earpiece replacement is a straightforward task, but it requires precision to avoid damaging the sensitive electronics. Before you begin, clear a small workspace and wash your hands thoroughly. Transferring grease, grit, or sweat from your fingers to the internal air channel of the new tube will immediately compromise audio clarity. This is a technical maintenance task, so treat it with the same care you’d give to the radio unit itself.
Removing the Old Tubing Safely
Grasp the transducer housing firmly between your thumb and forefinger. Avoid pulling on the wire at all costs, as this can cause internal fractures that lead to intermittent signal loss. For bayonet-style models, apply a gentle press and twist the tube anticlockwise. If you’re dealing with a friction-fit model that has become ‘welded’ to the nipple due to age, don’t use metal tools or pliers. Use a hairdryer on a low heat setting for approximately ten seconds to soften the plastic, then slide it off. Once the tube is removed, inspect the transducer surface for any residue or earwax. Following professional Maintenance and Hygiene protocols ensures that you aren’t sealing old debris into your fresh connection.
Securing the New Connection
Align the lugs on your new clear tube earpiece replacement with the notches on the transducer housing. Push firmly and rotate clockwise until you feel a distinct mechanical click. This indicates the bayonet is locked. For push-on models, ensure the tubing covers the entire length of the barbed nipple. An incomplete seal creates an air leak, which makes the incoming audio sound tinny or weak. Once secured, perform a quick radio check with a colleague. Listen for a full, rich tone. If the audio still feels distant or thin, re-seat the connection to ensure it’s completely airtight.
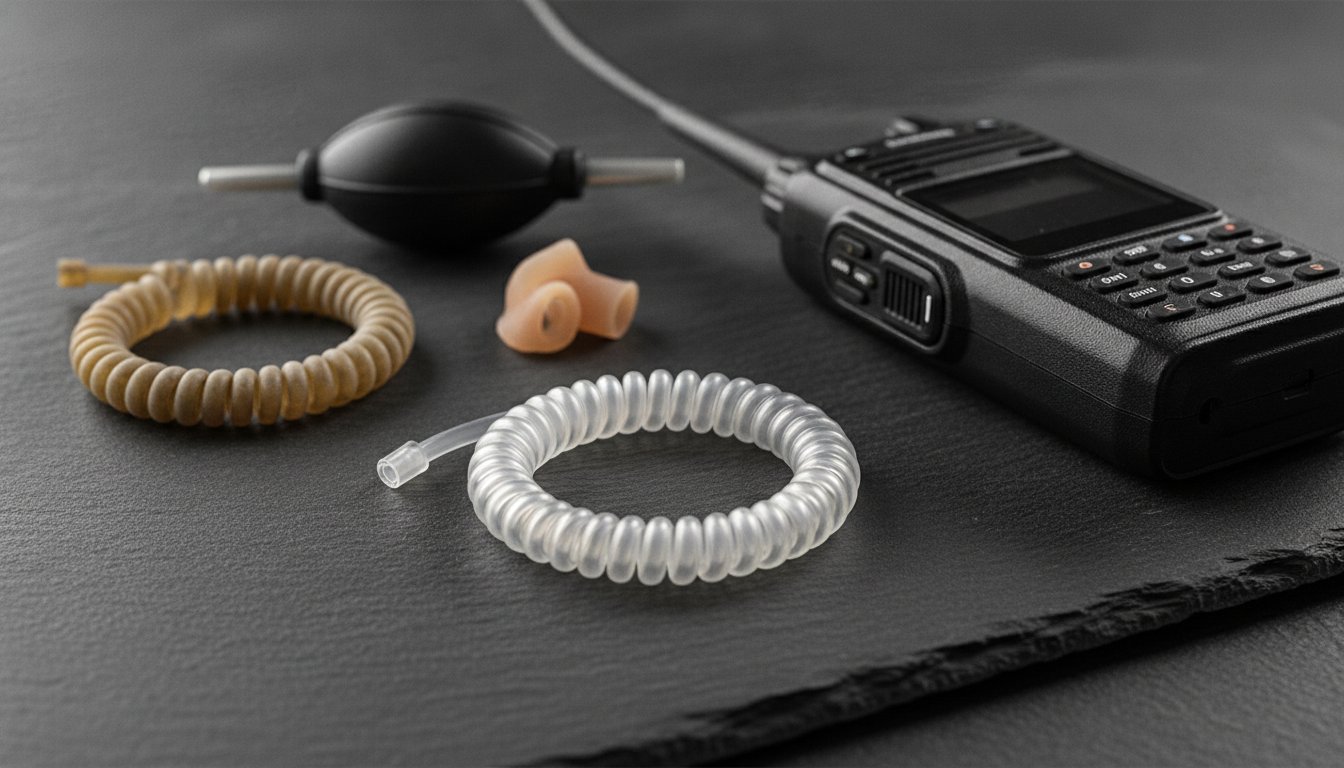
The final step is fitting the ear tip to the elbow connector. Most replacements come with a standard mushroom tip, which is suitable for general use and provides a secure fit for most ear shapes. However, if you find the standard tip uncomfortable during twelve-hour shifts, consider upgrading to a semi-custom ear mould. These allow for better ambient sound awareness whilst keeping the radio audio secure in the ear canal. Ensure the elbow connector is pushed fully into the tip to prevent it from detaching whilst you’re on the move.

Maintenance and Hygiene: Extending the Life of Your Gear
High-activity environments like nightclub security or festival stewarding create a perfect storm for equipment failure. Constant body heat and perspiration lead to rapid moisture build-up inside the acoustic coils. This isn’t just an audio issue; it’s a bacterial one. Professionals must implement a strict hygiene protocol to prevent ear infections and maintain team health. Performing a regular clear tube earpiece replacement ensures that your gear remains a tool for communication rather than a health hazard.
The air-blower is an essential accessory for any serious radio user. These small hand-pumps allow you to force dry air through the tube, clearing out condensation that has gathered amongst the coils. Using an air-blower daily prevents the “underwater” sound mentioned in earlier sections from ever occurring. If you share radio units amongst a team, the rule is simple: never share the acoustic components. Every staff member should be issued their own personal ear tips and tubes to maintain professional standards.
Daily and Weekly Cleaning Routines
Cleaning your gear doesn’t require complex chemicals. A simple solution of warm, mild soapy water is the most effective way to flush the internal chamber. Submerge the tube, ensuring it’s disconnected from the transducer, and allow the water to flow through the coils. Avoid using alcohol-based wipes on the tubing itself. These chemicals can strip the plasticisers from the material, making it brittle and prone to snapping. Drying is the most critical stage of the routine. Trapped water is a breeding ground for mould. After flushing, use your air-blower to remove as much liquid as possible, then hang the tube in a well-ventilated area to dry completely.
The Professional Duty of Care
From a health and safety perspective, providing fresh equipment is a basic requirement for any reputable security firm. A single clear tube earpiece replacement typically has an operational lifespan of 3 to 6 months in daily use before the material begins to lose its acoustic properties. Beyond this window, the plastic hardens, and no amount of cleaning will restore its original clarity. Proper storage prevents premature yellowing. Keep your spare gear in a breathable mesh pouch rather than a pocket where it can be crushed or exposed to lint. If your current tube has become stiff or permanently discoloured, it’s time to retire it. You can shop replacement acoustic tubes and ear tips with next day shipping to ensure your team stays connected and hygienic.
Professional-Grade Replacements from Earpiece Hub
Earpiece Hub serves as the central resource for the UK’s security and event management sectors. We specialise in high-performance accessories for Motorola, Hytera, and Kenwood radios, ensuring your team stays connected when it matters most. A clear tube earpiece replacement from our range is designed to meet the rigorous demands of professional use, offering superior durability compared to generic alternatives. Whether you’re managing a small venue or a large-scale festival, we provide the technical hardware required to maintain crystal-clear communication channels.
Efficiency is at the core of our service. We understand that equipment failure often happens at the most inconvenient times. That’s why we offer Next Day Shipping on all essential components. For security firms and event management teams, we provide bulk packs that allow you to equip an entire radio fleet whilst reducing costs. This ensures every operative has access to fresh, hygienic gear for every shift without delay. Our status as a reliable specialist means you get the right part the first time, every time.
Why Professionals Choose Our Acoustic Tubes
- High-Transparency Materials: Our tubes are crafted for maximum discretion, making them ideal for covert operations and high-end hospitality roles.
- Universal Compatibility: We offer versatile options that fit a diverse range of radio models, reducing the need to carry multiple spare types in your kit bag.
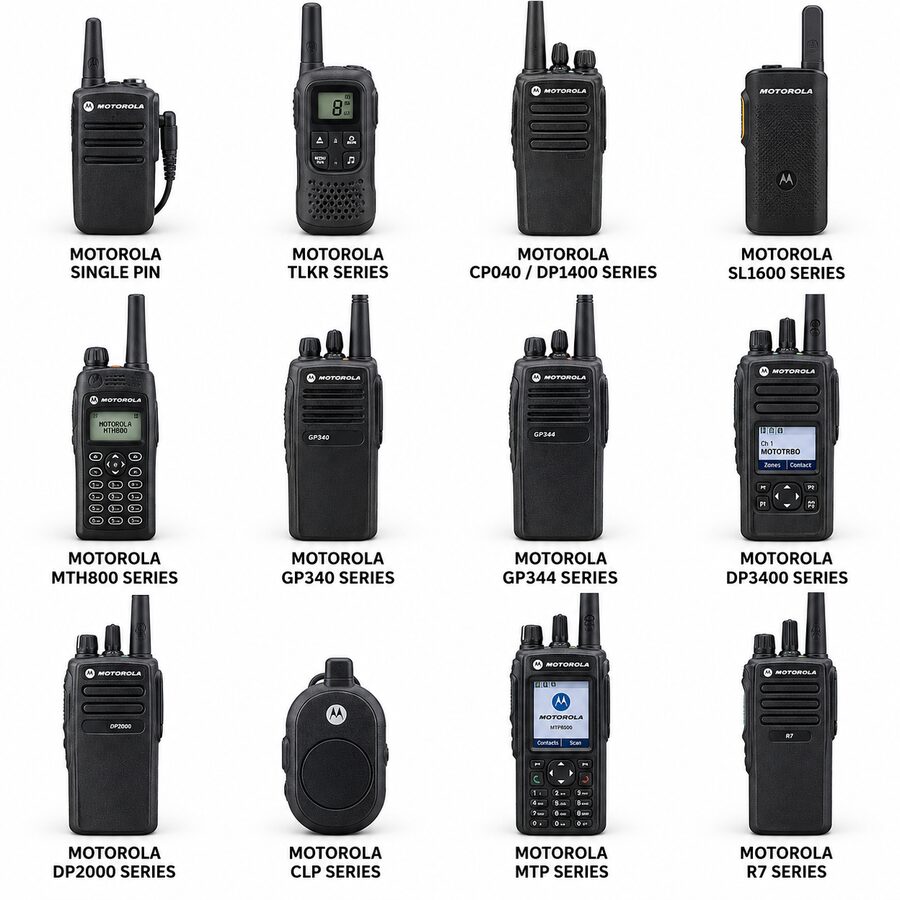
- Guaranteed Fit: Every clear tube earpiece replacement is tested for a perfect seal with major professional series, including the Motorola DP1400 and Hytera PD radio fleets.
Complete Your Kit
A high-quality tube is only one part of a professional setup. Comfort is essential for long-duration shifts, which is why we stock a variety of ear tips. You can choose between the standard mushroom tips for general use or upgrade to semi-custom ear moulds for better ambient awareness and a more secure fit. These small upgrades make a significant difference to user fatigue over a twelve-hour period, allowing you to focus on the task at hand rather than ear discomfort.
Don’t let a weak signal undermine your new hardware. Maintaining consistent signal strength also requires reliable power. Ensure your handsets are performing at their peak by pairing your new tubing with fresh Motorola DP1400 batteries. This combination of clear audio and reliable power ensures your communication remains uninterrupted during critical moments. Shop our range of replacement acoustic tubes now to restore your audio clarity and maintain professional standards.
Maintain Crystal Clear Communication
Restoring audio clarity is often as simple as a clear tube earpiece replacement. You now have the knowledge to identify failing hardware, select the correct twist-lock or push-on connector, and perform a secure installation. Remember that whilst regular maintenance with air-blowers prevents moisture build-up, replacing your tubing every three to six months is the only way to guarantee professional hygiene and peak performance standards.
As a dedicated UK specialist, Earpiece Hub provides the reliable gear needed for high-stakes environments. We offer 24/7 support and Next Day Shipping to ensure your communication never falters. Don’t let degraded equipment compromise your team’s safety or your professional image. Browse our Professional Acoustic Tube Replacements today and use coupon SAVE10 to receive 10% off your purchase. Equip your team with the tools they need to stay sharp, hygienic, and connected on every shift.
Frequently Asked Questions
How often should I replace my clear earpiece tube?
You should replace your acoustic tube every three to six months if you use the radio daily for work. Professionals working in dirty, smoky, or high-activity environments might need a clear tube earpiece replacement even more frequently. If the plastic becomes stiff, grey, or discoloured, it’s an immediate sign that the material has degraded and can no longer provide the necessary audio clarity or hygiene standards required for security operations.
Can I clean my acoustic tube instead of replacing it?
Regular cleaning is essential for maintenance, but it cannot fix a tube that has turned brittle or permanently stained. You can flush the tube with warm, mild soapy water to remove earwax and debris. However, once the plastic has chemically reacted to skin oils and UV light, cleaning will not restore transparency or flexibility. At this stage, a full replacement is the only way to ensure your communication remains professional and clear.
Why has my clear earpiece tube turned yellow?
Yellowing is caused by a chemical reaction between the plastic tube and external elements like UV light, perspiration, and skin oils. Over time, these factors break down the plasticisers in the material, leading to discolouration and hardening. This is a natural lifecycle for PVC-based tubing. Upgrading to surgical-grade silicon can slow this process down, but eventually, all clear tubes will require replacement to maintain a professional appearance and signal quality.
Will this replacement tube fit any radio brand?
Most replacement tubes are designed for universal compatibility, but you must match the connector type to your transducer. Professional Motorola and Hytera kits typically use a twist-lock bayonet connector, whilst budget models often rely on a friction-fit push-on nipple. Whilst the tubing itself is standard, the plastic base must be the correct style to create an airtight seal. Always check your current earpiece’s connection mechanism before ordering your clear tube earpiece replacement.
How do I get moisture out of my acoustic tube?
The most effective way to remove condensation is by using a specialised hand-pump air-blower. Disconnect the tube from the transducer and blow dry air through the coils to force out any trapped water droplets. Avoid using canned compressed air, as the chemicals can damage the plastic. If moisture persists, you can flush the tube with warm water and hang it to dry in a well-ventilated area for at least 24 hours to ensure it’s completely dry.
What is the difference between a mushroom tip and an ear mould?
A mushroom tip is a standard, bulbous silicone piece that fits inside the ear canal to block out ambient noise. It’s included with most kits and provides a secure, universal fit. Semi-custom ear moulds are shaped to the outer ear, allowing you to hear your surroundings whilst the radio audio remains clear. Moulds are generally preferred for long shifts because they reduce ear fatigue and provide better situational awareness for security staff in busy environments.
Why is the sound on my earpiece so quiet all of a sudden?
A sudden drop in volume is usually caused by a physical blockage or an air leak at the connector. Check the elbow joint and ear tip for earwax build-up, as even a small obstruction can muffle the sound waves. Alternatively, ensure the tube is firmly locked into the transducer housing. If the connection isn’t airtight, the acoustic energy will escape before reaching your ear, making the incoming transmissions sound thin, quiet, and difficult to understand.
Are these tubes compatible with covert surveillance kits?
Yes, clear acoustic tubes are the industry standard for covert surveillance earpieces, including 1-wire, 2-wire, and 3-wire configurations. Their translucent design allows them to blend in with your skin tone, making them ideal for plain-clothes operations or discreet security roles. When selecting a replacement for covert use, ensure the coil length is sufficient to route the cable comfortably under your clothing whilst allowing for full head movement without pulling the ear tip from your ear.
