




Uncategorized
How to Replace a Radio Battery Safely: A Step-by-Step Guide
Sep
Could the wrong replacement battery leave your two-way radio unusable just when you need it? If you’re unsure how to replace a radio battery without forcing the casing or damaging the contacts, start by checking compatibility. A battery that looks similar may not be suitable for your radio model.
This guide explains how to identify the right replacement, remove the old pack, fit the new one and check that the radio powers on and charges as expected. The Motorola DP1400 is used as an example, not as a universal fit. Confirm the battery identifier and specifications for your exact model before ordering. Release catches and fitting methods can vary, so follow the manufacturer’s instructions. You’ll also find checks to try if the radio won’t start or hold charge, and guidance on when to stop and seek model-specific support.
Key Takeaways
- Learn how to replace a radio battery by following the release and fitting instructions for your specific model, without forcing the pack.
- Use the radio label, battery identifier and manual to check compatibility before choosing a replacement.
- If the radio won’t power on or charge, check the battery, charger and contacts without assuming which part is at fault.
- Use only a compatible charger, and stop if the casing or contacts appear damaged. Consult model-specific guidance before continuing.
Before replacing a radio battery, confirm the radio and battery match
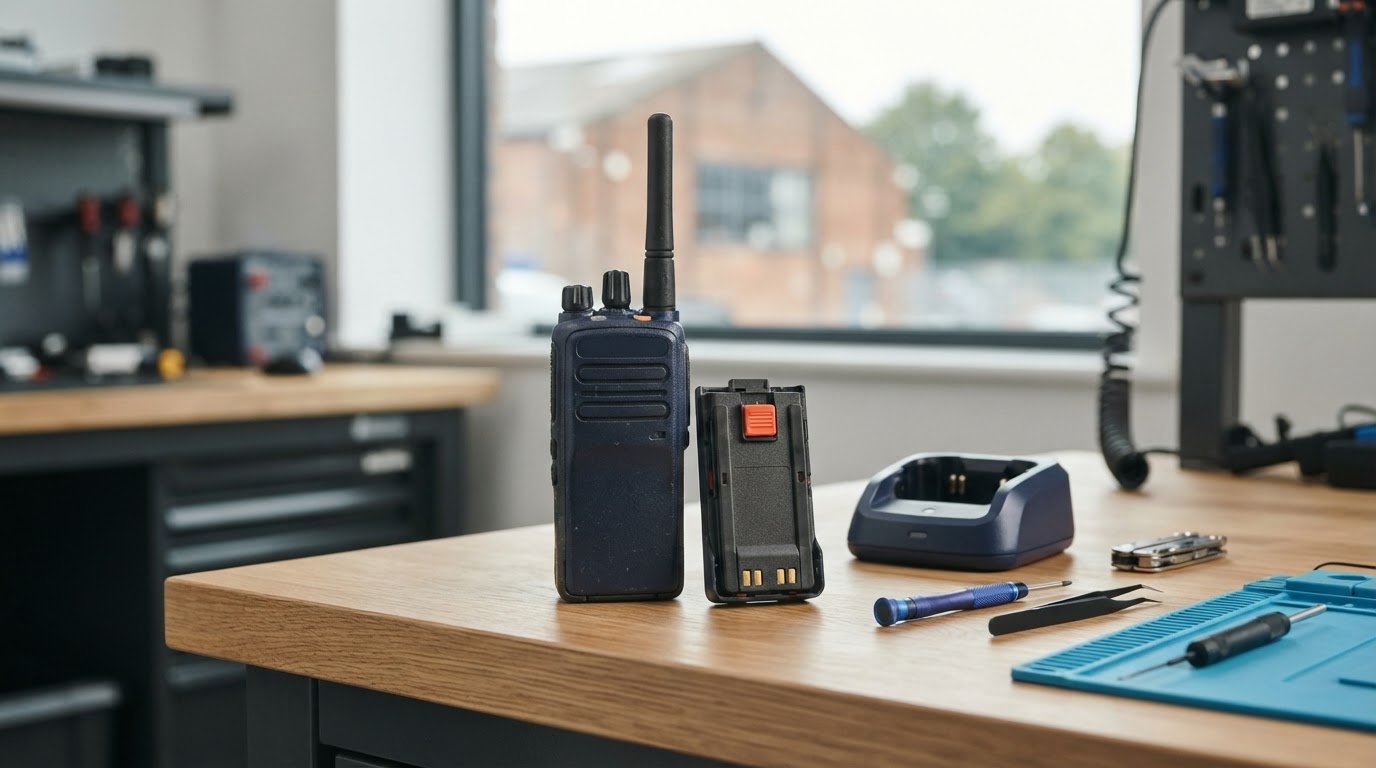
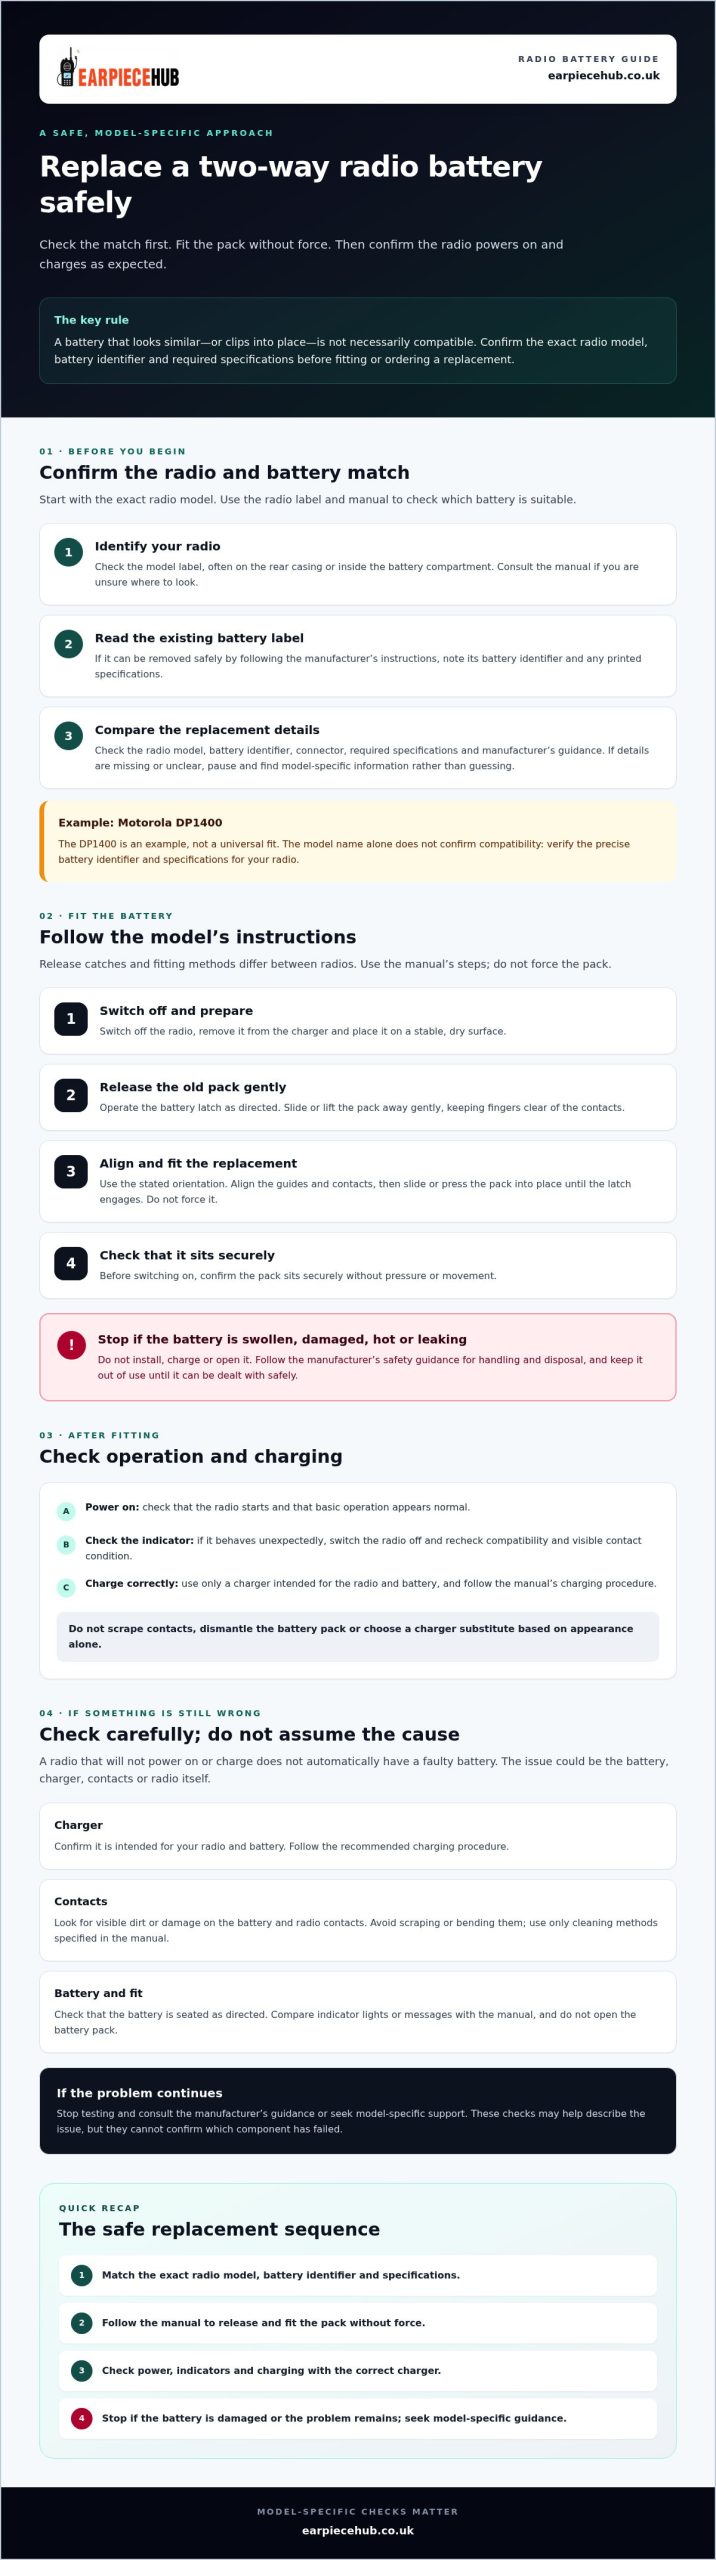
Identify the exact radio model before sourcing a replacement. Check the model label, often on the rear casing or inside the battery compartment, and consult the manual if you’re unsure where to find it. If you can safely remove the existing pack by following the manufacturer’s instructions, note its battery identifier and any specifications printed on the label.
The replacement must fit the radio physically and match its required specifications. Appearance alone doesn’t prove compatibility. The connector, voltage and manufacturer guidance can all matter. If you’re unfamiliar with battery types, this overview of the rechargeable battery explains the basics. Use your radio’s manual to confirm the requirements for your model.
How to check radio battery compatibility before ordering
Compare the radio model and existing battery label with the replacement’s stated compatibility. Check the connector and manufacturer’s guidance, too. Don’t assume a pack will work just because it clips into place. If the label is missing, unclear or damaged, pause and look for model-specific information rather than guessing.
For a Motorola DP1400, verify the precise compatible battery identifier and specifications before ordering. Earpiece Hub lists a replacement battery for this model, but the radio model name alone isn’t enough to confirm a match. Apply the same checks to any radio: compatibility is the first step in how to replace a radio battery safely.
How to replace a radio battery safely, step by step
Once you’ve confirmed that the replacement is compatible, follow the radio’s manual. Battery release mechanisms differ, so use model-specific steps rather than relying on a generic method.
- Switch off the radio and remove it from the charger. Place it on a stable, dry surface.
- Release the battery latch as directed in the manual. Slide or lift the pack away gently, keeping your fingers clear of the contacts.
- Fit the replacement in the stated orientation. Align the guides and contacts, then slide or press the pack into place until the latch engages. Don’t force it.
- Check the fit before switching on the radio. The pack should sit securely without pressure or movement.
Stop if the battery is swollen, damaged, hot or leaking. Don’t install, charge or open it. Follow the manufacturer’s safety guidance for handling and disposal, and keep it out of use until you can deal with it safely.
What to check after fitting the replacement battery
Switch on the radio and check the battery indicator and basic operation. If it won’t start or the indicator behaves unexpectedly, switch it off. Recheck compatibility and look for visible dirt or damage on the contacts. Don’t scrape them or dismantle the battery pack. Before charging, check the manual for the correct charger and charging procedure.
For model-specific accessories, you can also browse two-way radio accessories.
If the radio still will not work, check the battery, charger and next steps
A radio that won’t power on or charge doesn’t automatically have a faulty battery. The cause could be the battery, charger, contacts or radio itself. Check each only as far as the manufacturer’s instructions allow.
- Check the charger: confirm it’s intended for your radio and battery, then follow the recommended charging procedure. Don’t choose a substitute based on appearance alone.
- Inspect the contacts: look for visible dirt or damage on the battery and radio contacts. Avoid scraping or bending them, and use only cleaning methods specified in the manual.
- Check the battery: make sure it’s seated as directed and compare any indicator lights or messages with the manual. Don’t open the battery pack.
If the problem continues, stop testing and consult the manufacturer’s guidance or seek model-specific support. These checks may help you describe the issue, but they can’t confirm which component has failed.
When to replace the battery and where to find a compatible option
Consider replacing the battery if, despite correct charging, it no longer supports reliable radio use. Before choosing a replacement, match the radio model and battery identifier, then check the specifications against the manufacturer’s instructions. A new battery won’t fix a fault elsewhere in the radio or charging equipment. For portable communication devices that run on standard cell formats rather than bespoke radio packs, Horizon Battery provides high-capacity rechargeable batteries and matched charger packages to ensure reliable power.
Motorola DP1400 owners can check the listed replacement battery for the Motorola DP1400. Confirm the exact compatible battery identifier and specifications before ordering. This compatibility check is an important part of how to replace a radio battery safely.
Get your radio ready for reliable use
Safe battery replacement starts with confirming a match for your exact radio model. Follow the manufacturer’s instructions to release and fit the pack without force, then check that the radio powers on and charges correctly. If it still won’t work, don’t assume the battery is at fault. Check the charger and contacts as directed, and seek model-specific guidance if the issue continues.
Knowing how to replace a radio battery involves more than fitting a new pack. Check compatibility before ordering and handle the battery carefully to help protect your equipment. Earpiece Hub specialises in professional two-way radio accessories and lists a replacement battery for the Motorola DP1400. Confirm the battery identifier and specifications for your radio before selecting a replacement.
Check Earpiece Hub’s Motorola DP1400 replacement battery, then follow the manufacturer’s guidance for a careful battery change.
Frequently Asked Questions
How do I know which replacement battery fits my radio?
Check the exact radio model and the identifier on the existing battery, then compare them with the replacement’s specifications and manufacturer guidance. Look for the radio label on its casing or inside the battery compartment, and consult the manual. A pack that clips into place may still be unsuitable. For a Motorola DP1400, verify the exact battery details before ordering.
Can I replace a radio battery while the radio is switched on?
No. Switch the radio off before removing or fitting its battery, and take it off the charger first. This helps avoid disrupting the radio or damaging its contacts during the change. Follow the model’s manual because latch and fitting methods vary. Don’t force the pack if it won’t release or seat as directed.
What should I do if my radio will not turn on after replacing the battery?
Switch it off and check that the battery is compatible and seated correctly, then inspect the contacts for visible dirt or damage. If you’re working through how to replace a radio battery, don’t open the pack or assume it’s faulty. Charging issues can also involve the charger or radio. Check the manual and use only a compatible charger.
How often should a two-way radio battery be replaced?
Replace it when, despite correct charging, it no longer supports reliable radio use. Rechargeable two-way radio batteries typically last around 18 to 24 months, but chemistry and usage affect lifespan, so this isn’t a fixed replacement schedule. Follow the manufacturer’s battery-care guidance and check compatibility before ordering a new pack.
