




Uncategorized
Why is My Radio Earpiece Muffled? Troubleshooting and Professional Fixes
Sep
Imagine you’re in the middle of a high-stakes security detail and a critical transmission comes through, but all you hear is a distorted, underwater hum. You find yourself asking, “why is my radio earpiece muffled?” at the exact moment you need clarity the most. It’s an incredibly frustrating experience for professionals who rely on two-way radios for safety and team coordination. Missing a single word can lead to serious risks, and the confusion of not knowing whether your radio or your headset is failing only adds to the stress of a busy shift.
You’re likely looking for an immediate fix so you can get back to work with confidence in your hardware. This guide will help you identify the root cause of muffled audio and provide professional maintenance techniques to restore crystal-clear communication on duty. We’ll examine everything from physical blockages in acoustic tubes to connection faults, giving you the knowledge to prevent future audio issues. By the end of this article, you’ll know exactly how to troubleshoot your gear and ensure your equipment remains a reliable partner in the field.
Key Takeaways
- Learn to perform a professional isolation test to determine whether the audio issue originates from your radio’s internal speaker or the earpiece itself.
- Identify how to clear common physical blockages, such as earwax build-up or the “acoustic bubble” caused by moisture, when asking why is my radio earpiece muffled.
- Discover how to inspect connector pins for oxidation and debris to ensure a secure electrical contact between your radio and accessory.
- Master a daily maintenance routine to extend the lifespan of your equipment and recognise the specific signs that indicate it is time to invest in a replacement.
Troubleshooting Muffled Audio: The Radio vs Earpiece Isolation Test
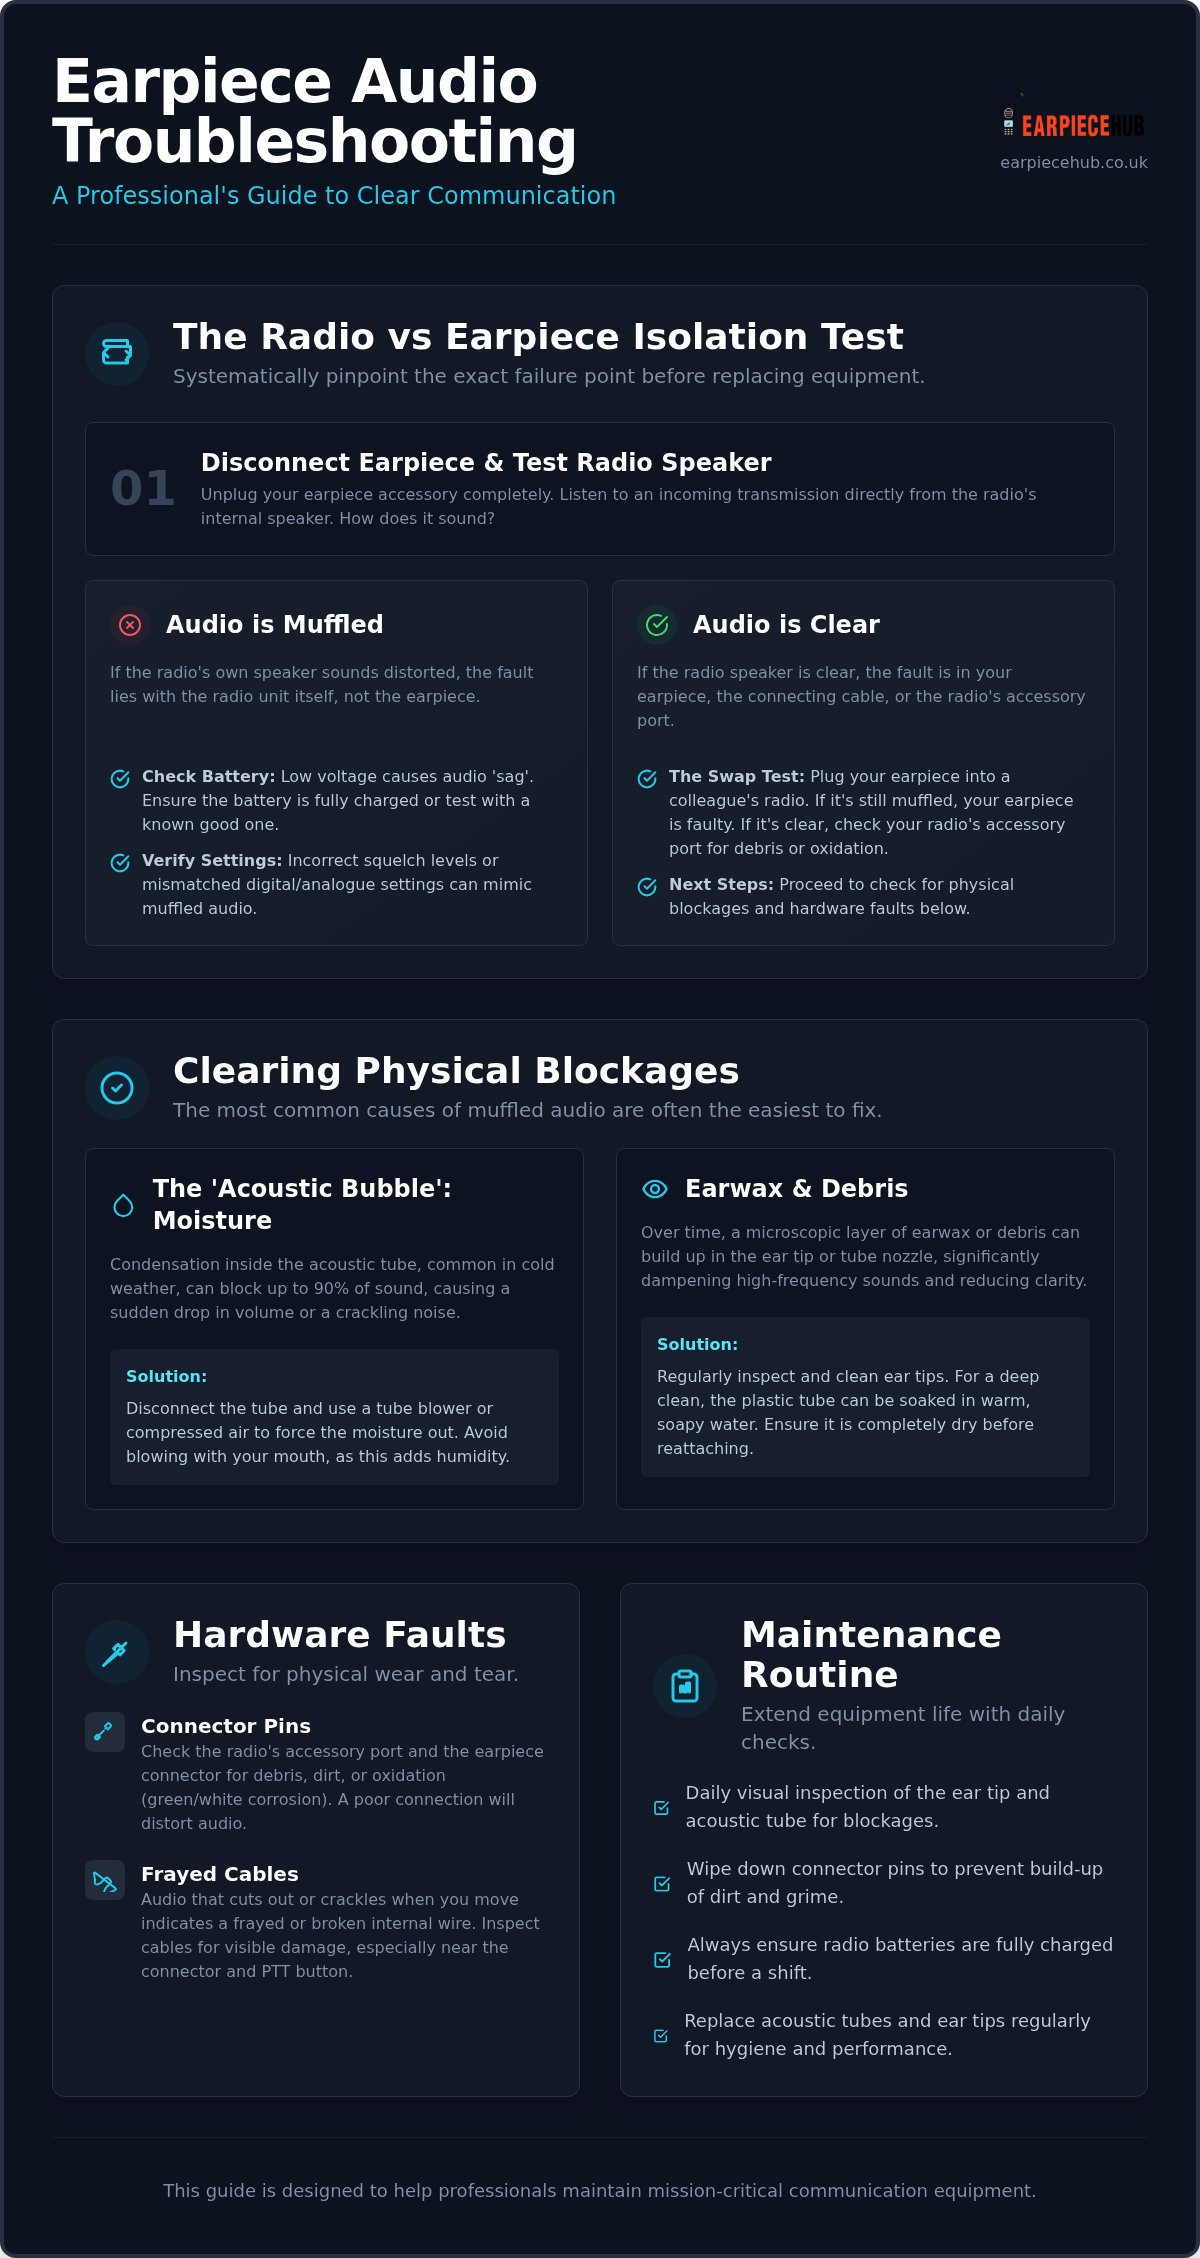
Before you discard your equipment in frustration whilst on duty, you must perform a systematic isolation test. Professionals often ask why is my radio earpiece muffled when the solution is actually a simple settings adjustment or a battery swap. This diagnostic process is essential because it prevents the unnecessary replacement of functional hardware. The Isolation Test is the industry standard for radio diagnostics, ensuring you pinpoint the exact failure point before spending money.
Start by disconnecting your earpiece entirely. Listen to the radio’s internal speaker. If the audio remains distorted, the issue likely lies with the radio’s transceiver or a failing battery. If the internal speaker sounds clear, the fault is isolated to the accessory or the connection port. Next, connect a known-working earpiece. If the sound remains poor, the issue is likely debris or oxidation within the radio’s accessory socket rather than the electroacoustic transducers inside your headset.
Checking Radio Settings and Battery Health
Low battery voltage often causes audio ‘sag’. This occurs when the radio lacks the power to drive clear signals, resulting in a muffled output. Always ensure your battery is fully charged or test with a replacement battery for Motorola DP1400 units to rule out power issues. Additionally, verify that your digital and analogue settings match your fleet’s configuration. Incorrect squelch levels can also mimic muffled audio by cutting off the signal prematurely.
The Swap Test: Identifying the Culprit
The most definitive way to answer why is my radio earpiece muffled is to plug your earpiece into a colleague’s radio. If the muffled sound persists on a different handset, your earpiece has likely suffered internal damage. This simple swap confirms whether you need a new accessory or if the radio unit itself requires professional servicing. Following this logical sequence saves time and ensures you don’t head into a high-stakes shift with unreliable communication gear.
Clearing Physical Blockages: Earwax, Moisture, and ‘The Bubble’
Physical obstructions are the most common reason professionals ask why is my radio earpiece muffled. Over time, earwax naturally migrates into the mushroom ear tip or the narrow nozzle of the acoustic tube. Even a microscopic layer of debris can significantly dampen high-frequency clarity. Regular inspection is vital, especially if you work long shifts where hygiene management becomes more challenging.
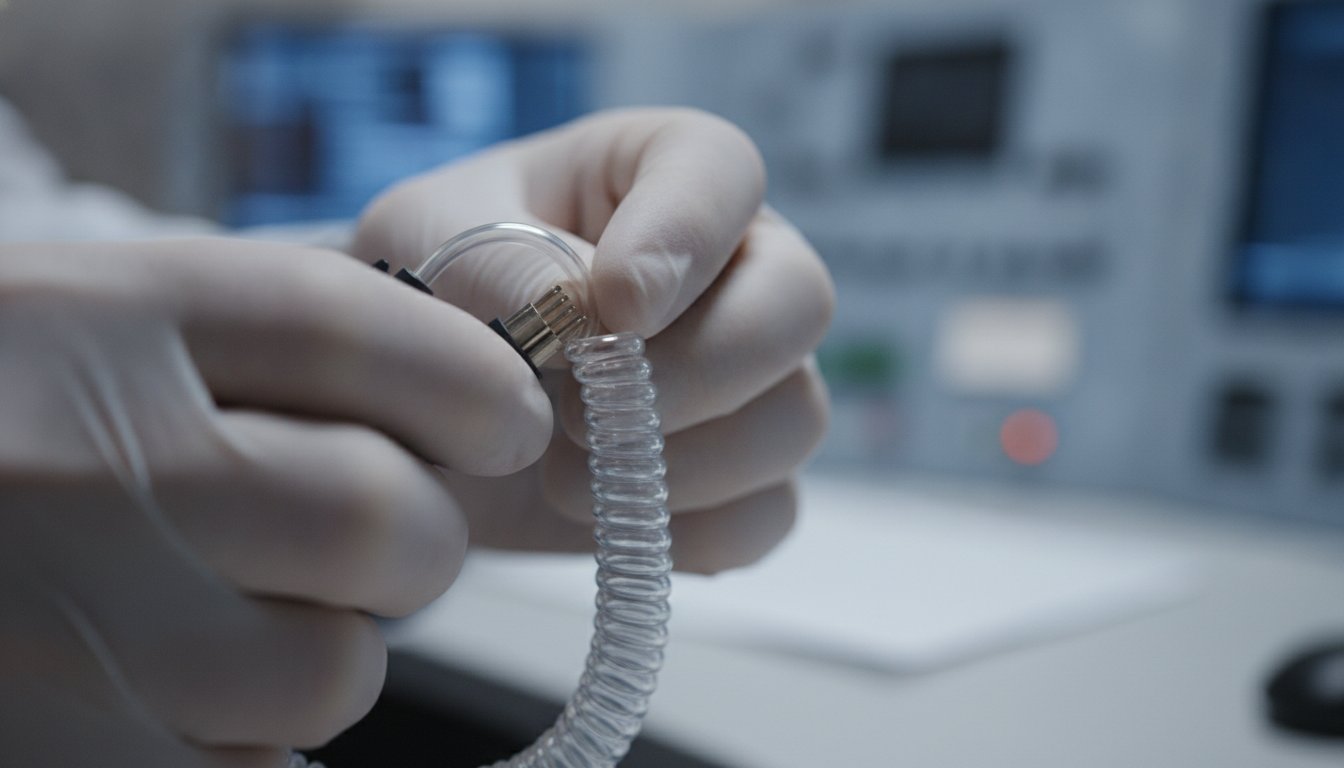
The ‘Acoustic Bubble’ is another frequent culprit, particularly during cold UK winters. When warm body heat meets the chilled plastic of a clear acoustic tube, condensation forms inside the line. A single droplet of moisture can act as a physical plug, blocking up to 90% of incoming audio. This phenomenon often presents as a sudden, severe drop in volume or a ‘crackling’ muffled sound that doesn’t resolve with volume adjustments.
Dealing with Condensation and Moisture
If you find yourself wondering why is my radio earpiece muffled after moving from a warm vehicle into the cold air, moisture is the likely cause. If you spot visible droplets, disconnect the tube from the transducer immediately. You can clear the line using a dedicated tube blower or a can of compressed air to force the moisture out. Avoid blowing into the tube with your mouth, as this introduces more humidity. For a deeper clean, soak the plastic tube in warm soapy water, but ensure it’s completely dry before reassembly to prevent damage to the electronics.
Maintenance of Ear Tips and Earmoulds
Silicone ear tips are porous and eventually lose their shape or become permanently discoloured. Whilst cleaning helps, we recommend regular rotation of replacement acoustic tubes and ear tips to maintain professional hygiene standards. Many specialists now prefer open-ear insert earmoulds. These allow for better ambient sound awareness and reduce the sweat build-up that leads to the acoustic bubble effect in the first place.
Inspecting Hardware Faults: Connector Pins and Blown Transducers
When physical blockages aren’t the culprit, hardware degradation is usually the reason why is my radio earpiece muffled. Professional radio accessories face constant physical stress whilst on duty. This often leads to micro-tears in cable insulation, especially near high-strain points like the PTT button or the connector housing. If you notice audio cutting out or sounding distorted when you move, the internal copper wiring is likely frayed or partially snapped, which prevents a clean signal from reaching your ear.
Connector and Port Maintenance
A common failure point for Motorola 2-pin and Hytera multipin accessories is the connection interface. Dust and pocket lint often accumulate inside the radio’s accessory socket, preventing the pins from seating correctly. You should also inspect for ‘pin-stretch’ on Motorola DP1400 connectors, where the pins lose their spring tension and fail to maintain a solid electrical contact. If you see dark residue on the metal, use a pencil eraser or specialised contact cleaner to organise and polish the oxidised surfaces. Clean pins are essential to prevent you from asking why is my radio earpiece muffled during a critical transmission.
Identifying Internal Component Failure
If the audio has a persistent ‘tinny’ quality or vibrates at high volumes, you likely have a blown transducer. This is the internal speaker element that converts electrical signals into sound. Give the transducer housing a gentle shake; a rattling sound indicates the internal diaphragm has detached or shattered. Specialist 1-wire, 2-wire, and 3-wire covert kits are particularly susceptible to this due to the extra cable strain inherent in their design. When internal components fail, repair is rarely cost-effective compared to a full replacement.
Don’t let faulty hardware compromise your safety on shift. If your pins are bent or your audio remains distorted, shop now for professional-grade replacements with next-day shipping.
Professional Maintenance and Selecting a Replacement
Maintaining your equipment shouldn’t be an afterthought. A daily routine of wiping connector pins and inspecting the acoustic line prevents the build-up that leads to you asking why is my radio earpiece muffled. If you notice the plastic tube is turning yellow, becoming brittle, or the cable insulation is showing signs of stress, it’s time to upgrade. Professional-grade earpieces are built for rigour, but they are ultimately consumables with a finite lifespan. Carrying a few spare acoustic tubes and ear tips in your kit bag ensures a minor moisture blockage doesn’t end your communication mid-shift. This proactive approach keeps your hardware functional throughout the most demanding assignments.
Choosing the Right Replacement Earpiece
Your choice of style depends on your specific duty requirements. G-Shape earpieces offer excellent durability and hygiene for multi-user environments, whilst covert Acoustic Tube kits provide the discretion needed for close protection. If you work in high-movement roles, the secure over-ear fit of a G-Shape or D-Shape is often superior to a standard earbud. Always ensure your replacement matches your radio’s brand, whether you need a dedicated Motorola, Hytera, or Kenwood connection. We also provide universal adapters to ensure cross-brand compatibility for teams using mixed radio fleets.
The Earpiece Hub Advantage
We understand that communication failure isn’t just an inconvenience; it’s a safety risk. Our specialist team provides 24/7 support to help you troubleshoot audio issues in real-time. If you find yourself constantly asking why is my radio earpiece muffled even after cleaning, it’s a clear sign the internal wiring has failed. We offer next-day shipping across the UK to ensure you are never without a reliable link to your team. We act as the central hub for professional communication peripherals, providing the 1-wire, 2-wire, and 3-wire kits you need to stay safe on duty.
Shop our full range of replacement earpieces and spares to restore your audio clarity today.
Restore Your Communication Clarity
Reliable communication is the backbone of any professional security or operations team. If you’ve spent your shift wondering why is my radio earpiece muffled, you now have the professional tools to diagnose the fault. By performing a systematic isolation test and clearing physical blockages like moisture bubbles or earwax, you can often fix audio issues in the field. However, when connector pins are stretched or transducers fail, a high-quality replacement is the only way to ensure your safety and team coordination remain uncompromised.
Earpiece Hub has been a specialist UK supplier since 2015, providing expert support for Motorola, Hytera, and Kenwood hardware. We understand the urgency of your role, which is why we offer next-day delivery across the UK to get you back on duty without delay. Don’t settle for distorted audio when professional-grade clarity is just a click away. Browse Professional Radio Earpieces at Earpiece Hub and secure your communication hardware today. Stay safe and stay connected.
Frequently Asked Questions
Why does my radio sound muffled only when I use the earpiece?
This usually indicates a fault within the accessory rather than the radio transceiver itself. If the internal speaker is clear, the problem is likely a blockage in the acoustic tube or a failing transducer. You should perform an isolation test to confirm this. Checking the accessory port for debris or oxidation is also a vital step in discovering why is my radio earpiece muffled during a shift.
Can I use an alcohol wipe to clean my acoustic tube earpiece?
You can use alcohol wipes on the external plastic parts and the mushroom ear tip, but avoid getting liquid inside the transducer housing. Alcohol is effective for sanitising the surface and removing earwax build-up. However, for the internal part of the acoustic tube, warm soapy water is safer for the plastic. Always ensure the components are completely dry before you reassemble the kit to prevent electrical shorts.
How do I get moisture out of my clear radio tube without damaging it?
The most effective method is using a dedicated tube blower or a can of compressed air to force out condensation. Disconnect the tube from the transducer before doing this to avoid damaging the electronics. If you don’t have air tools, you can swing the tube in a wide circle to use centrifugal force to move the droplets. Never blow into the tube with your mouth, as this adds more humidity.
Is it possible to fix a muffled transducer, or do I need a new earpiece?
A muffled or blown transducer cannot be repaired and requires a full replacement of the earpiece unit. This component is the internal speaker that converts electrical signals into sound; once the internal diaphragm is damaged or the coil is burnt out, the audio quality will never recover. Professional radio accessories are consumables. It’s more cost-effective and reliable to invest in a new professional-grade earpiece than attempting complex micro-repairs.
Why is my Motorola earpiece audio intermittent and muffled at the same time?
This combination of symptoms suggests a connection issue or internal cable strain. If you are asking why is my radio earpiece muffled and cutting out, check the connector pins for “pin-stretch” or oxidation. On Motorola units, the 2-pin connector must seat perfectly to maintain signal integrity. Frayed copper wiring inside the cable, often near the PTT button, can also cause the signal to degrade and drop out intermittently.
